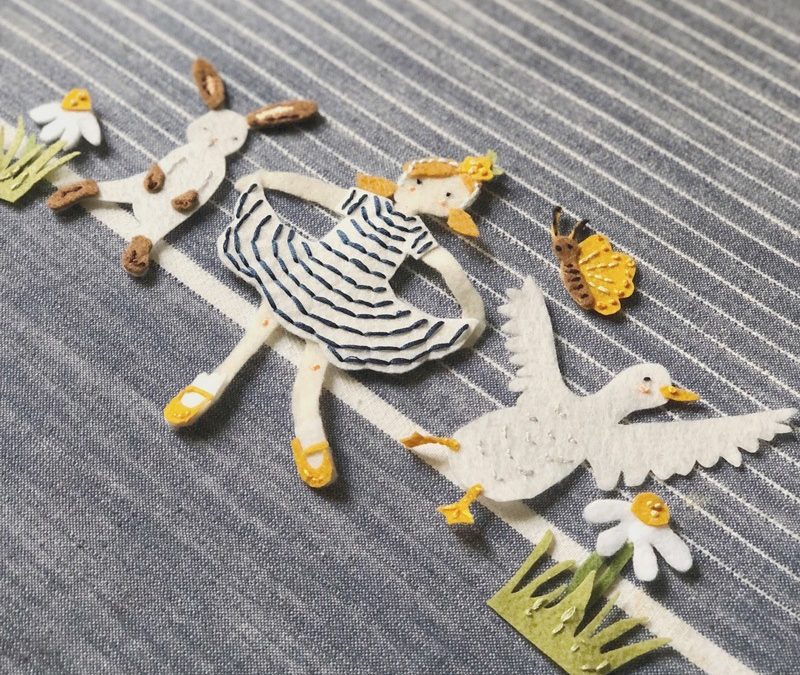
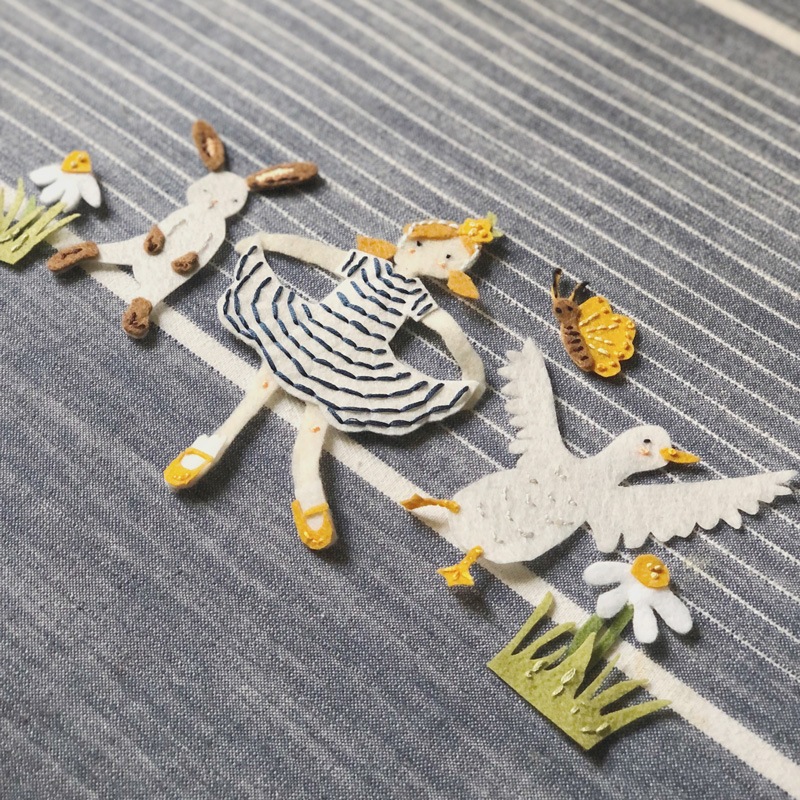
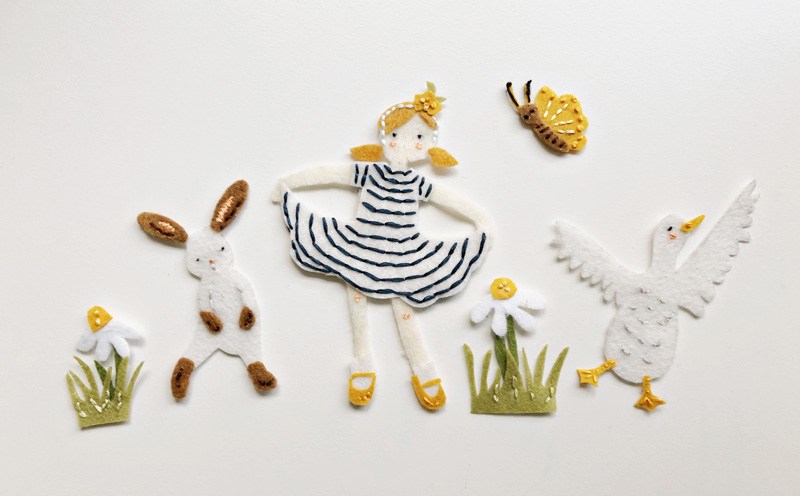
Yesterday, I had a moment of creative inspiration and decided to pull out my craft supplies and make little Twirl characters out of felt.
My kids asked what they were for and I have no idea other than that they were so fun to make and sometimes making just for the sake of making is perfectly wonderful. Aren’t they cute?!
I just can’t wait until you can enjoy these sweet characters and their story with the children in your life.
For as long as I can remember I have been delighted by children’s book illustrations. I loved the stories, of course, but most of all, my eyes were drawn to the pictures. The scenes, the tiny details, the colors, the characters, the expressions, the movement, I was captured by it all. By far, the most intimidating part of pursuing the dream of writing a picture book was also agreeing to illustrate it. And yet, now that it’s done, it was also one of my favorite things I’ve ever done.
So let’s talk about how the illustrations for Twirl came to be!
illustrating the characters
After writing the story, but before beginning on the illustrations, I took a very helpful picture book-making class (it is sadly no longer available) that bolstered my confidence and offered such practical instruction. I’m so grateful for people who share their expertise! I learned helpful book-making things like how to create a storyboard, how to make a little book dummy (to see how it all flows together), and also great advice for illustration. Here’s something I never knew: as an illustrator, you always want the motion of the artwork to lead to the right to encourage the reader to turn the page. It makes so much sense but I never would have known this if not for that class!
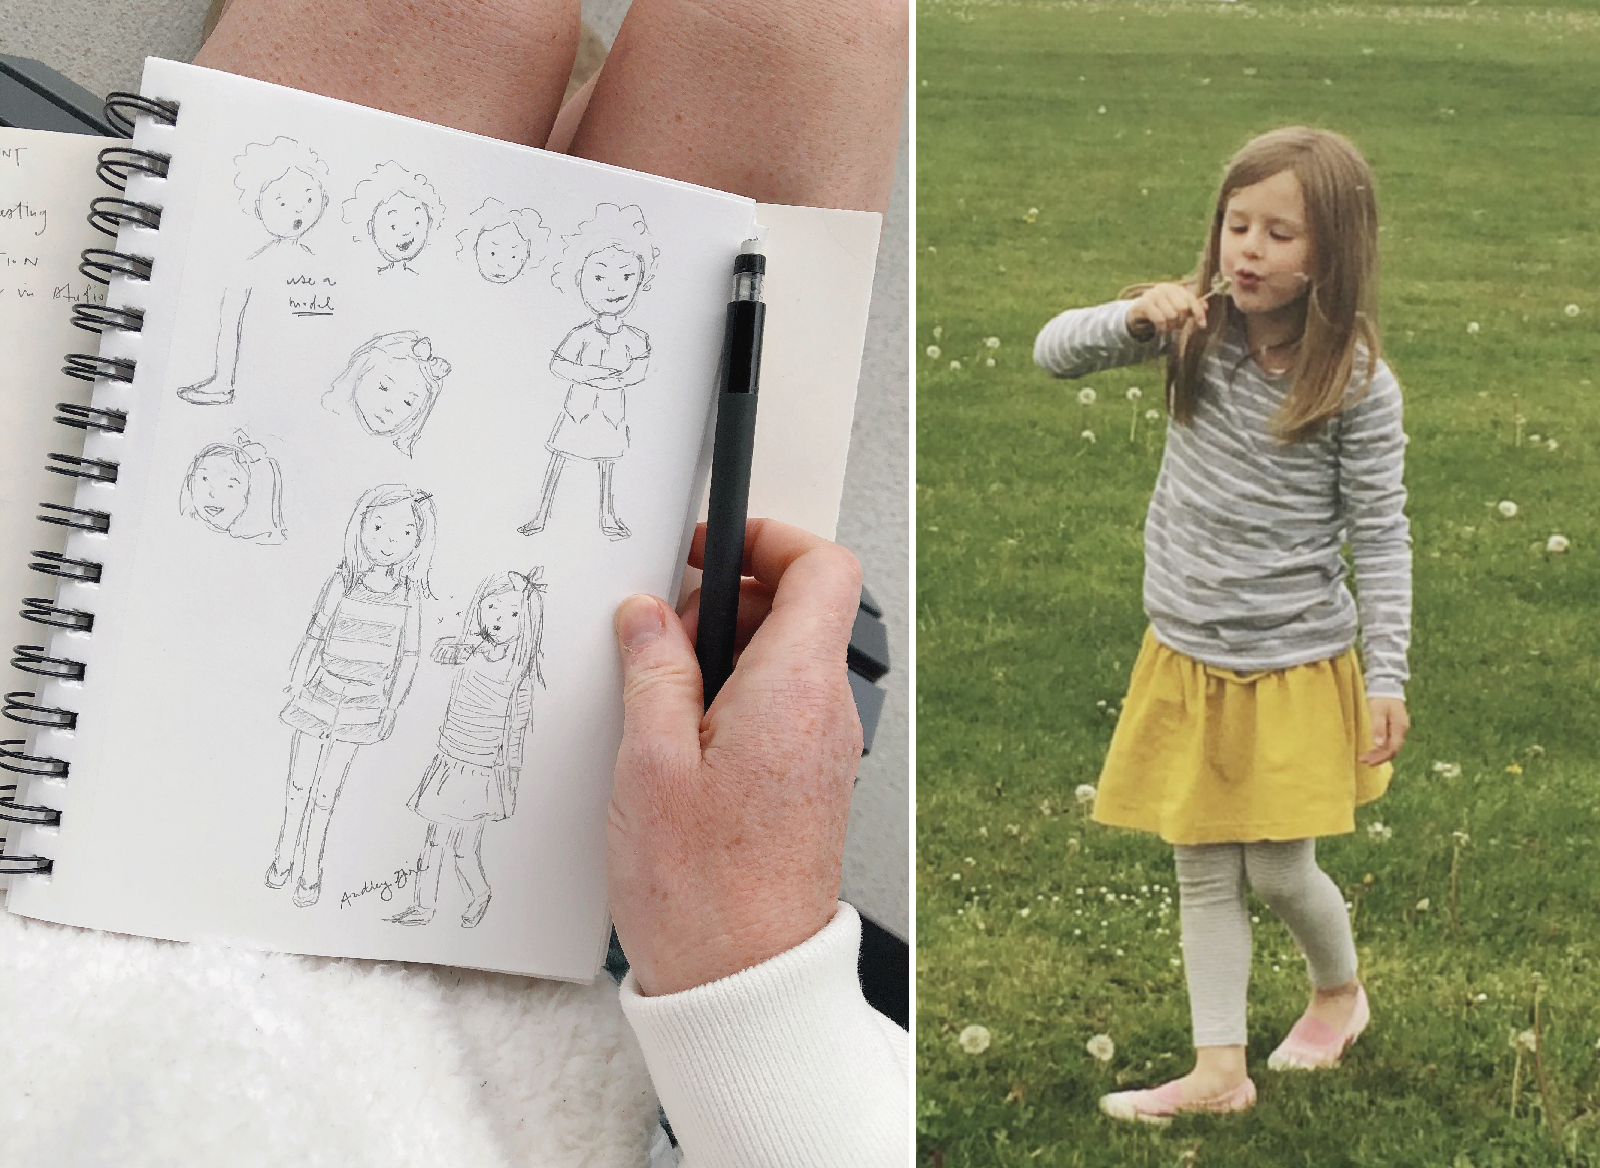
One of the things the instructor mentioned was that she will often hire her friends’ kids to model to help her figure out poses. If there is a scene with a child at a playground, for instance, she’ll take pictures of the child in that location to help her capture the facial and body expressions in her art. This was so helpful for me to know because I almost always use a photo to look at when painting and I loved having permission to do the same when illustrating a book.
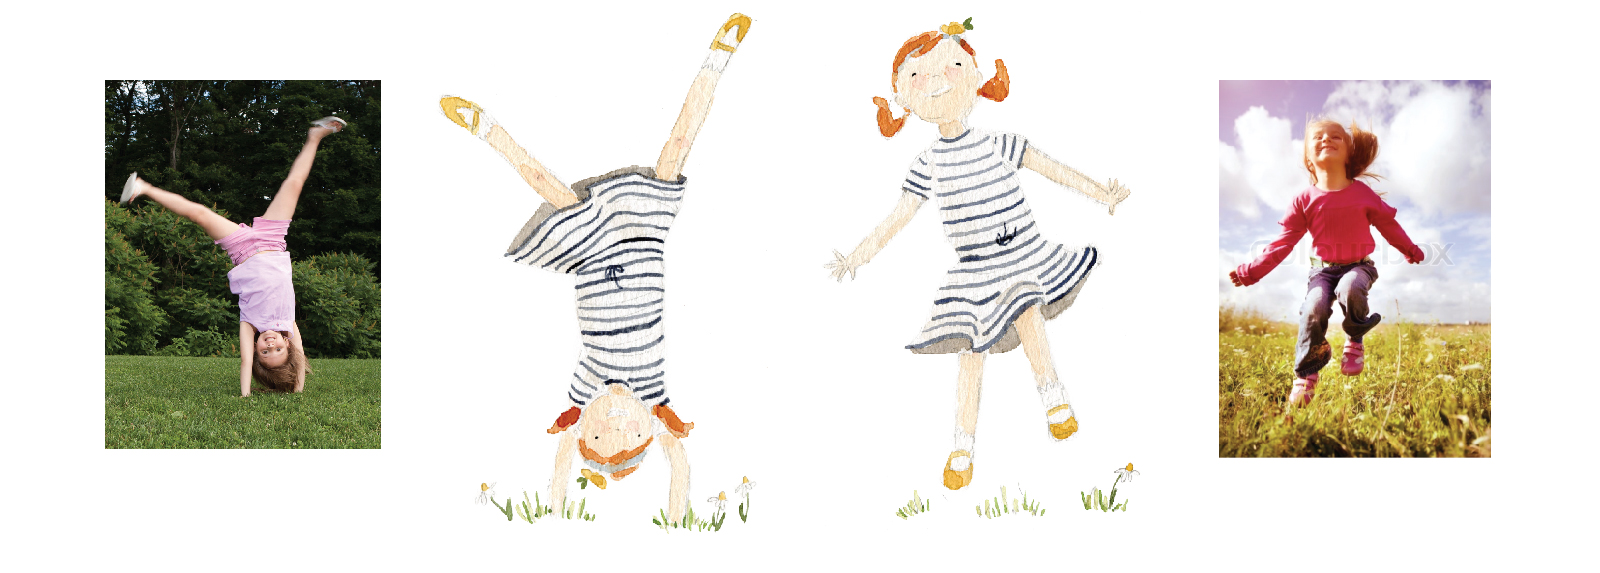
So when I began thinking about illustrating a little girl, I started by scrolling through old photos of Audrey to use as a reference. It was so much fun! And made sketching a person (not something I do regularly) much more approachable.
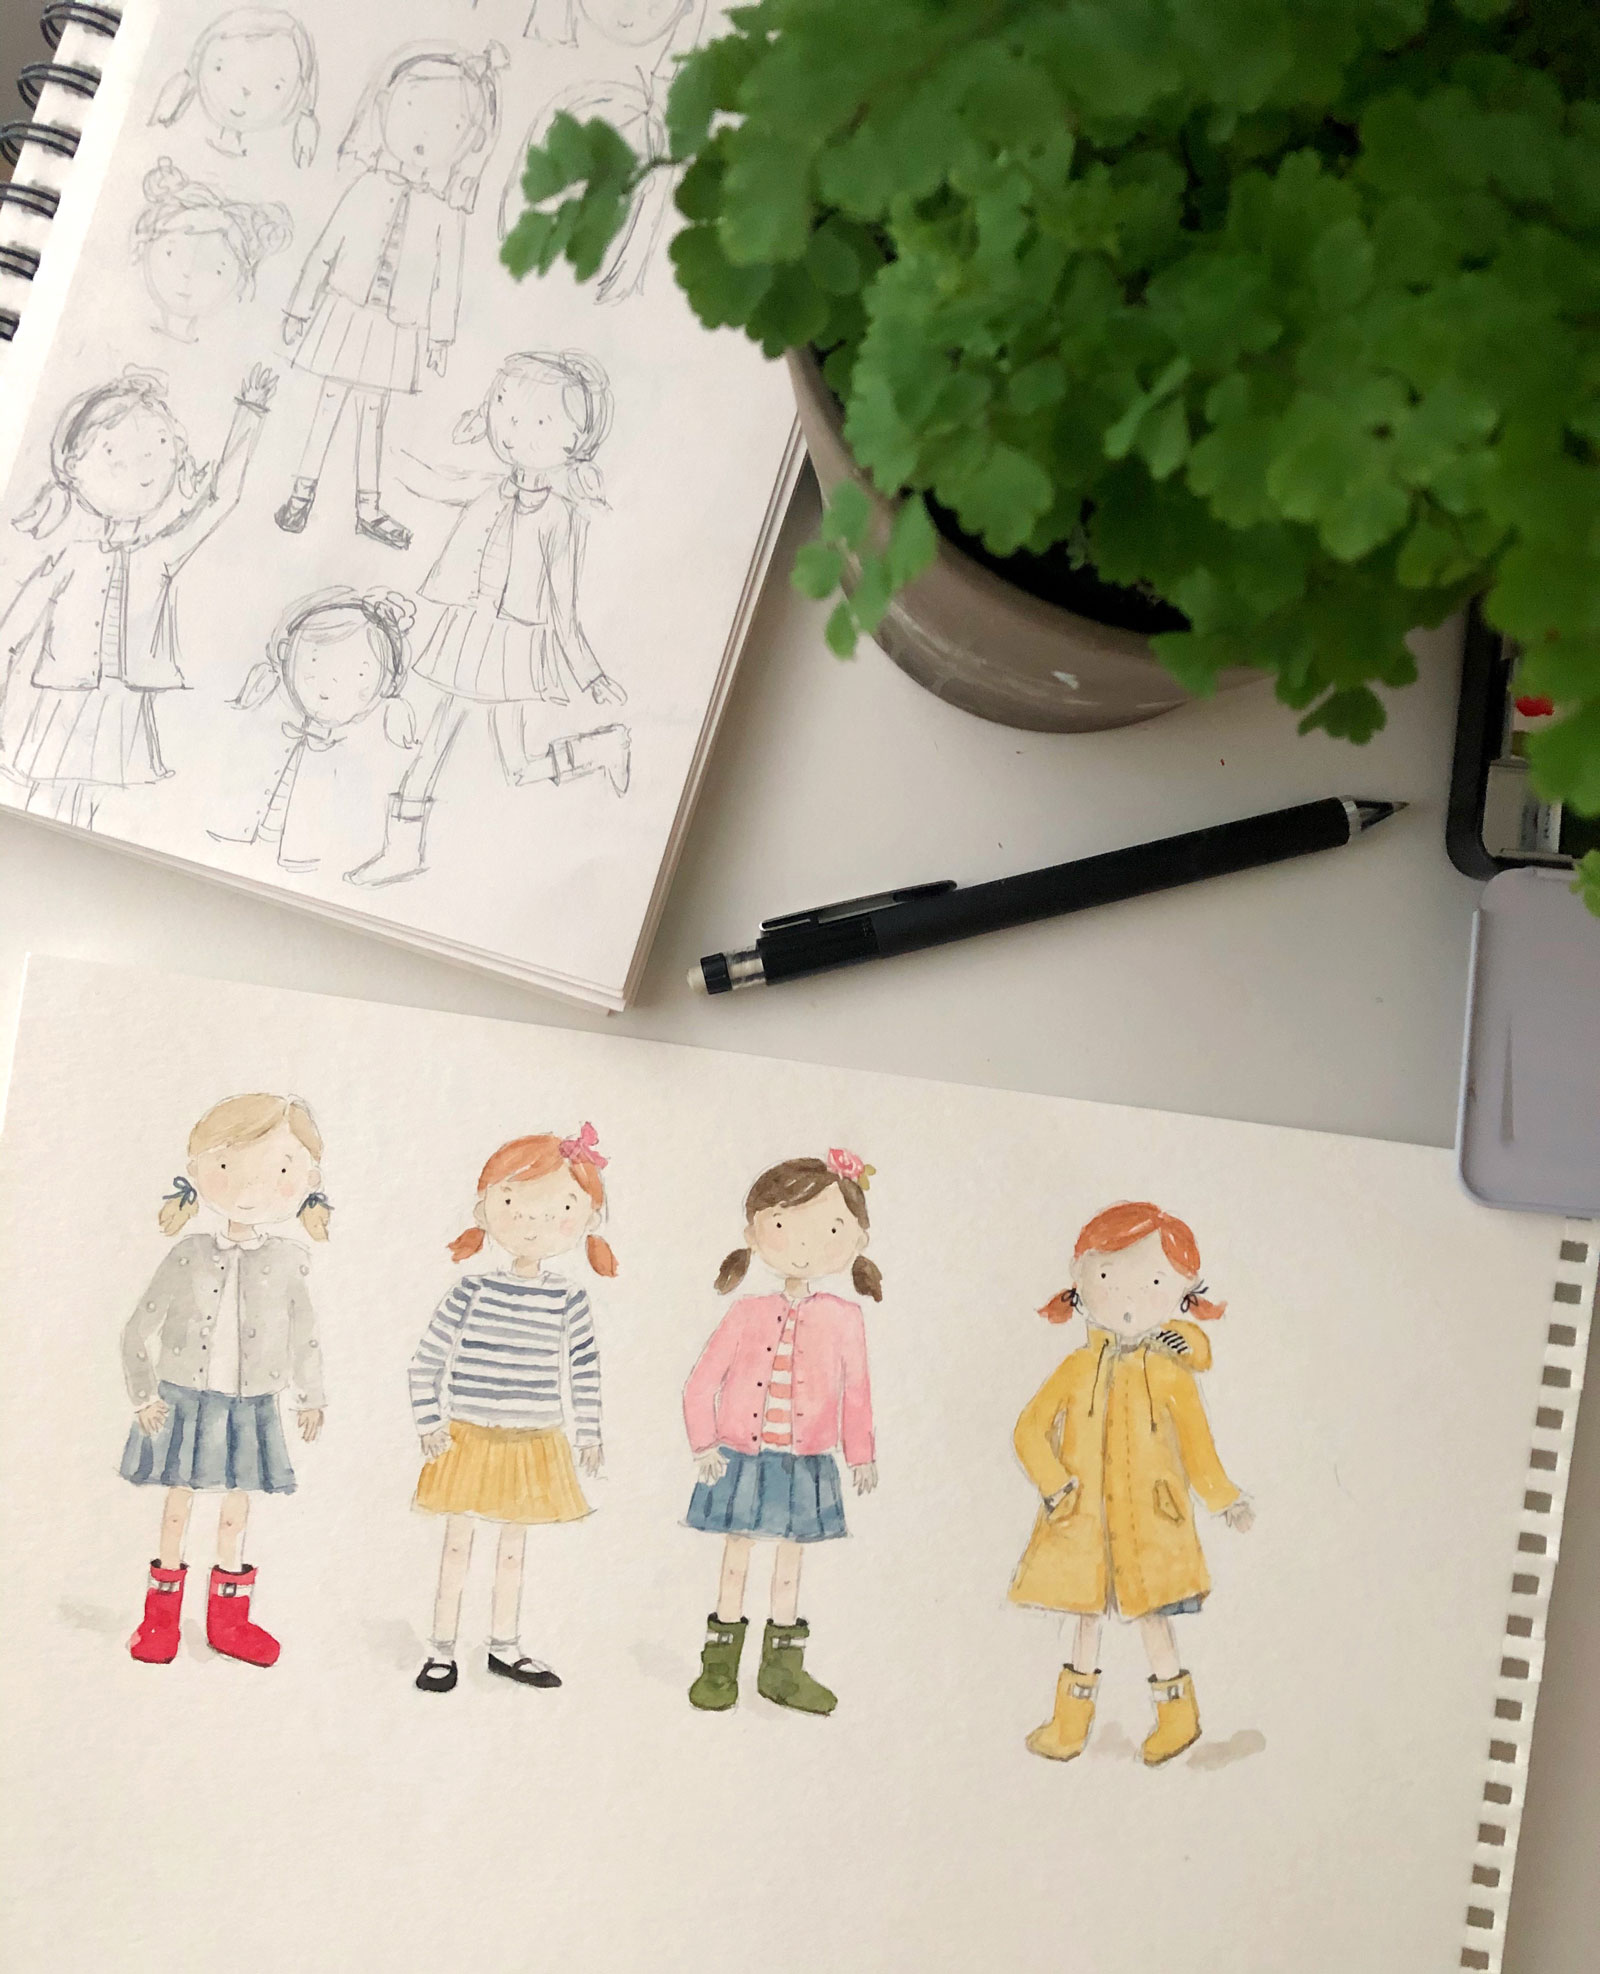
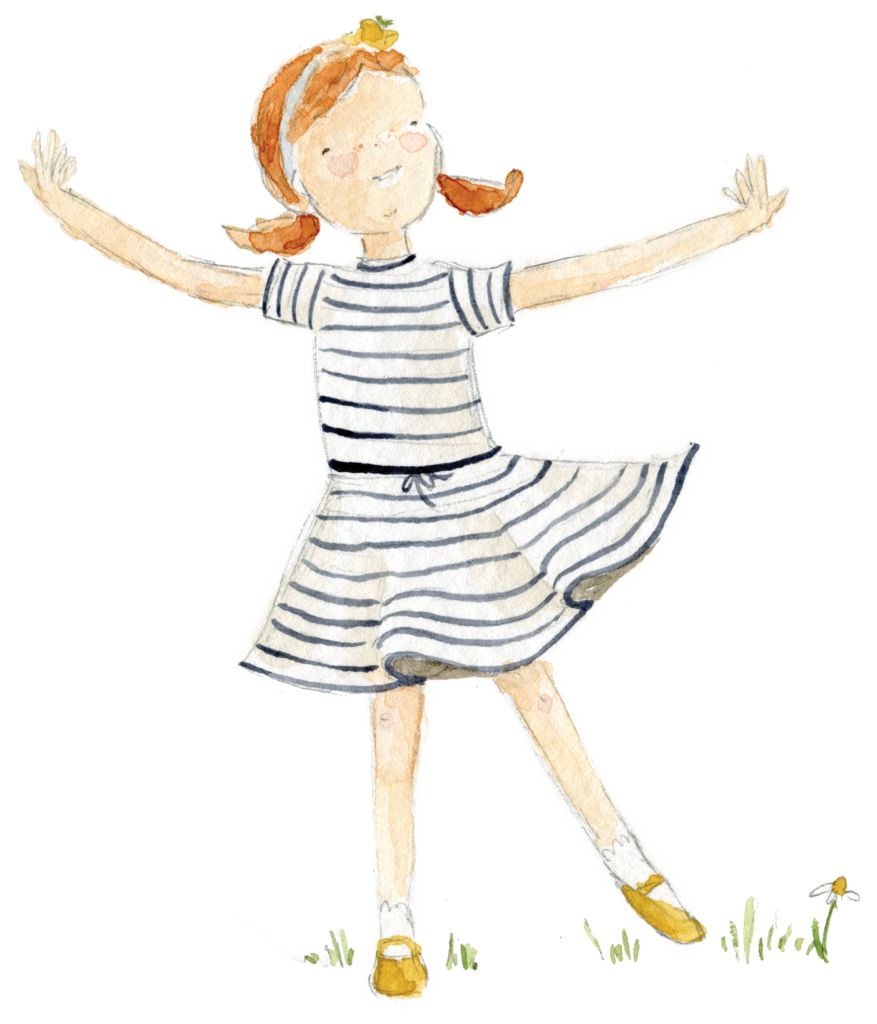
I continued to practice sketching, watched lots of illustration/figure drawing YouTube videos, and practiced some more until a little Audrey character started to take form. I tried her with different expressions and hair colors and outfits until ultimately deciding on red hair and faint freckles dotted across her nose. She is inspired by my Audrey girl, but deep, deep down, she is me 🙂
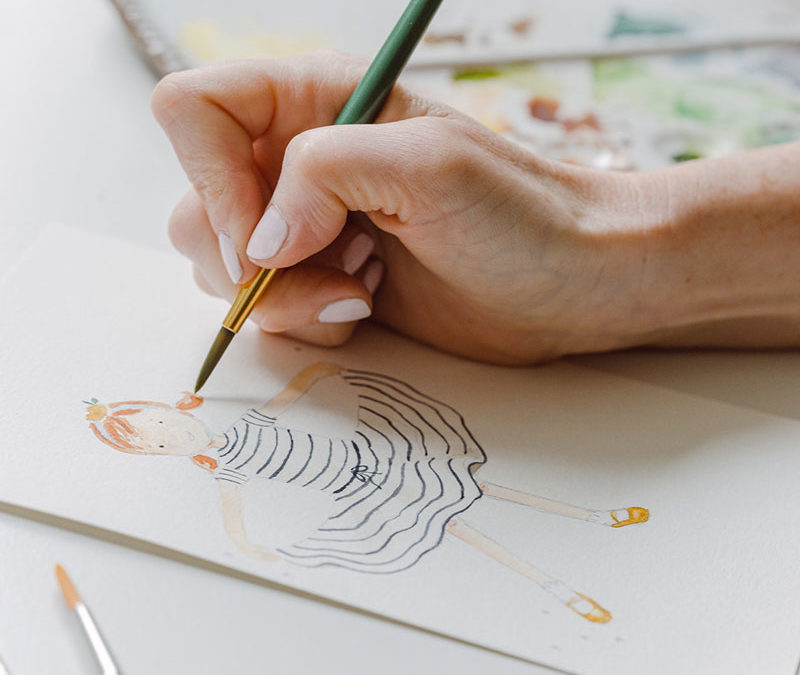
Once the real illustrations started, her little outfit emerged: a simple dress with a twirl-able skirt in navy and white stripes (of course!) fit her just right. She wears a headband and shoes that my real Audrey-girl wore and scalloped edged socks because there’s something classic and slightly British about her.
When it came to movement, I took the advice of the picture book instructor and used images as references. Most of the time a simple google search would deliver. Like, for instance, when I needed to draw Audrey doing a cartwheel or jumping:
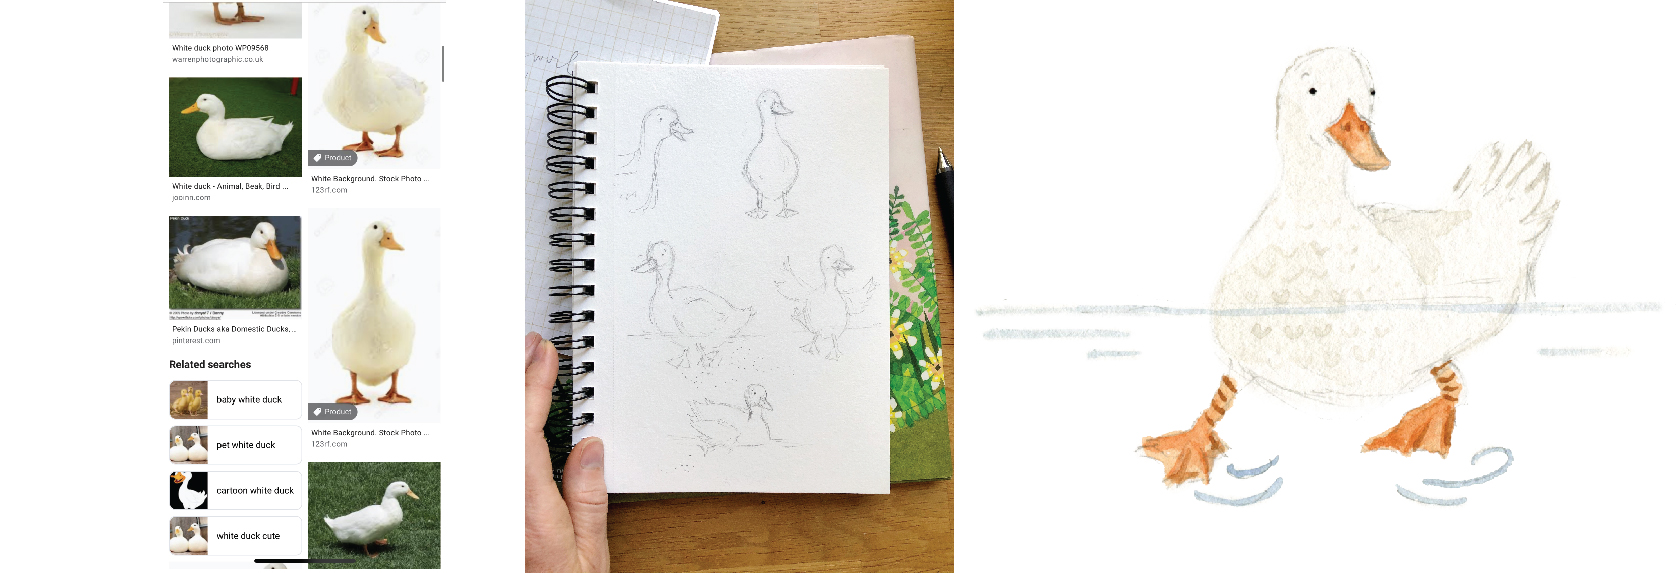
When creating the other characters, I used the same non-fancy method of googling images until I was inspired. Then I sketched lots of ducks and bunnies and butterflies, playing with colors and expressions until landing on the final Mr. Duck, Miss Butterfly, and Little Bunny.
the process
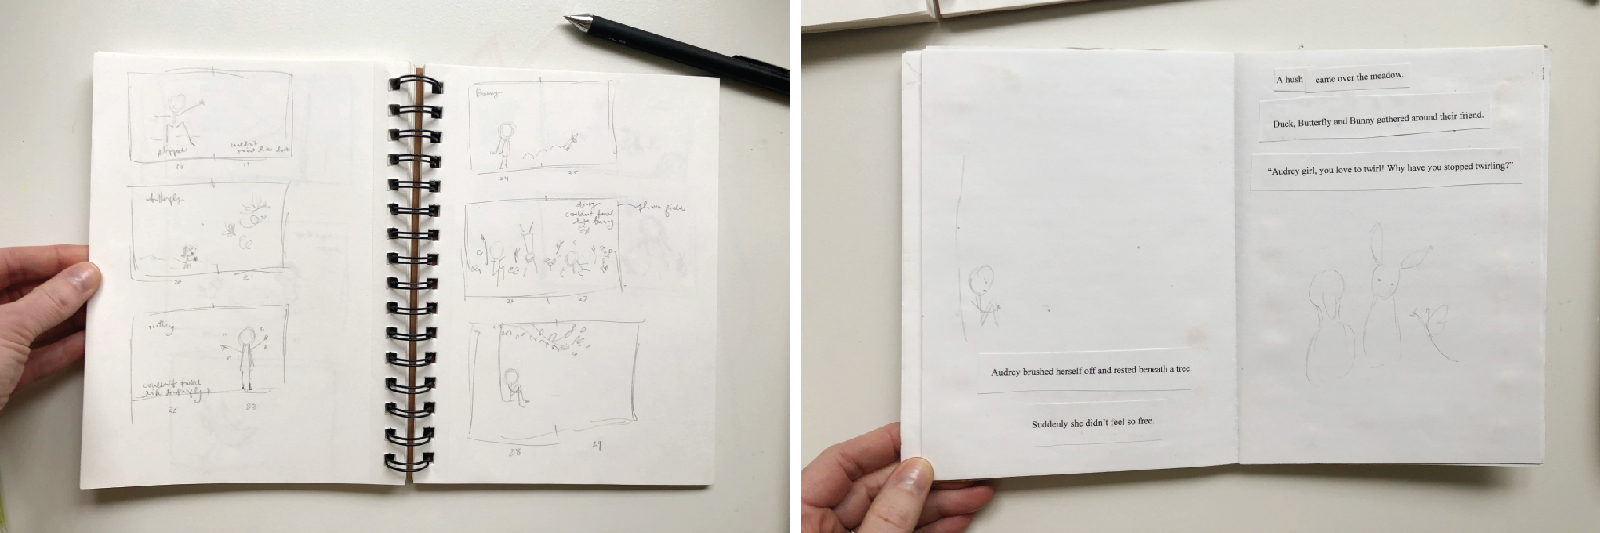
Picture books are typically 24-page spreads, so my job as the author was looking for the natural page breaks and finding a rhythm for how the story flows from page to page.
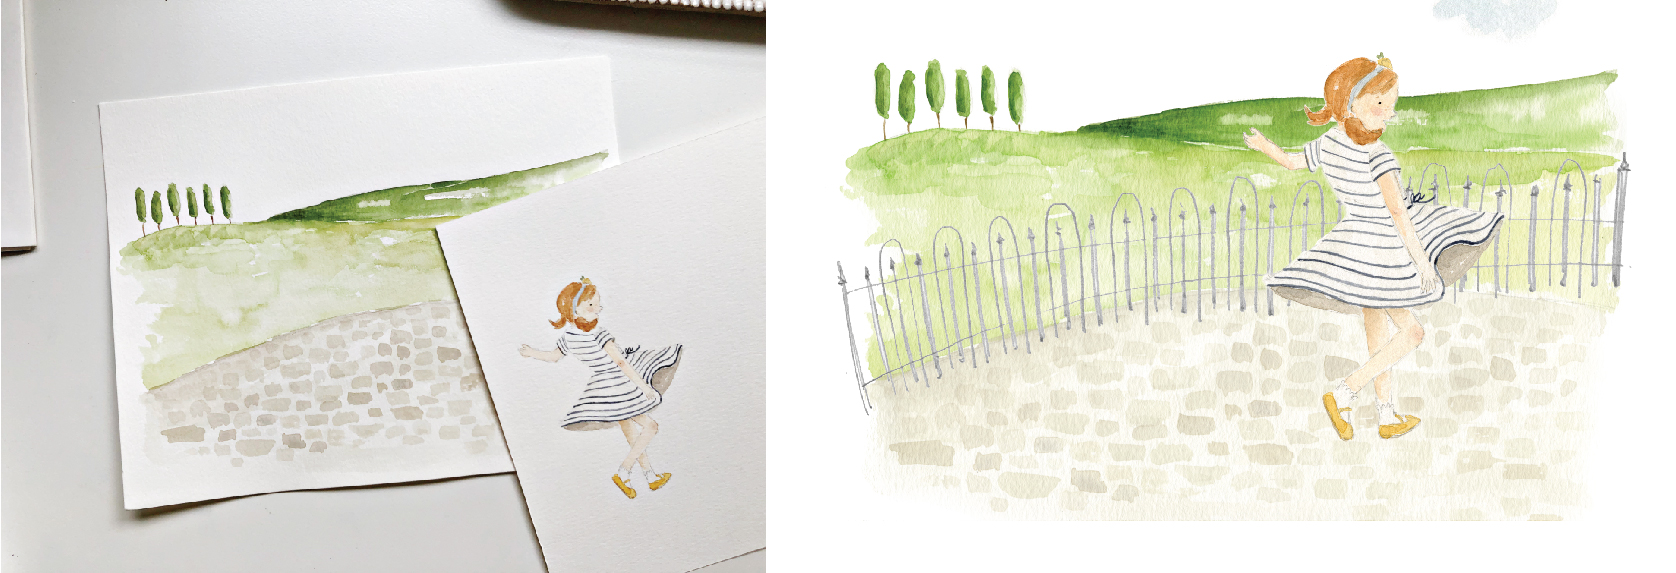
My job as the illustrator came next. What picture would best compliment the words? How might the spreads work together? Where should full-page art be and where are spot illustrations? How could the story be best told through art?This is the part that made me extra thankful to be the illustrator of my own book. As I wrote the story of Twirl, I had a general idea in my imagination of what each scene looked like. It wasn’t super clear so I’m so glad I didn’t have to try to convey this to another illustrator! Even though I was nervous about my ability to translate the pictures in my mind to paper, I gave it a try. I roughly sketched each page with the layout, characters, background, etc. It was very rough but helped so much (below, left). Then I made a little book dummy, adding the lines of the story to help layout each page (below, right). Again, so, so rough!
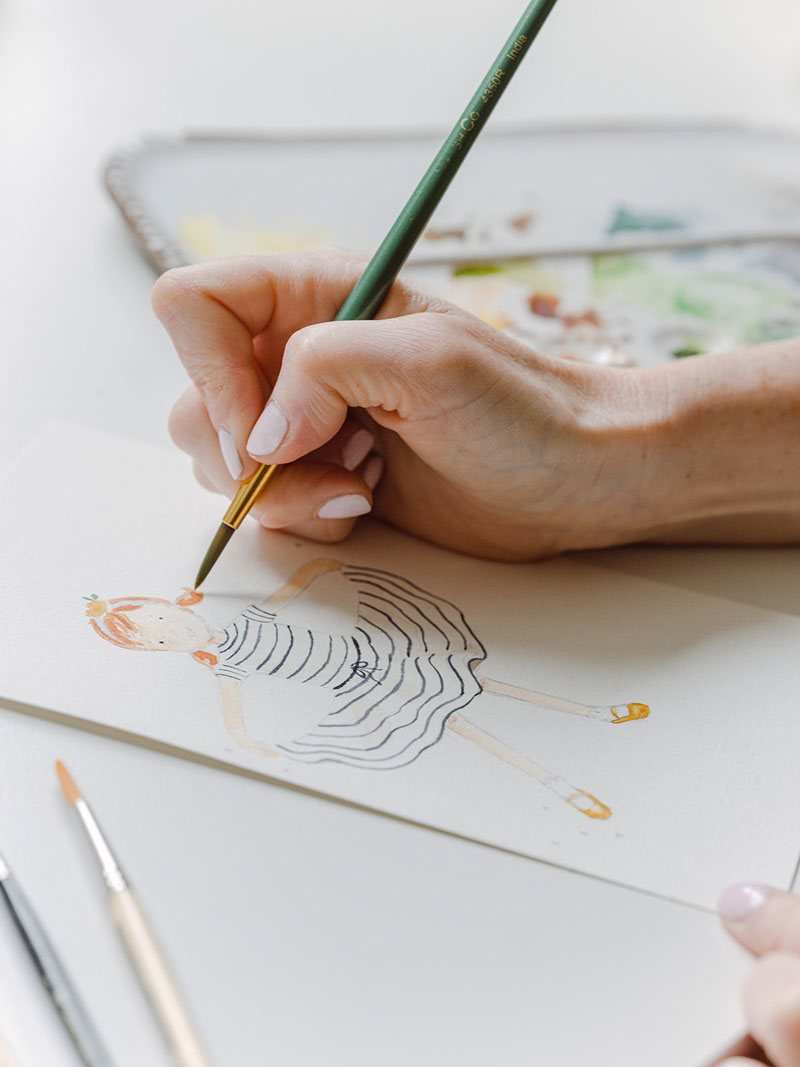
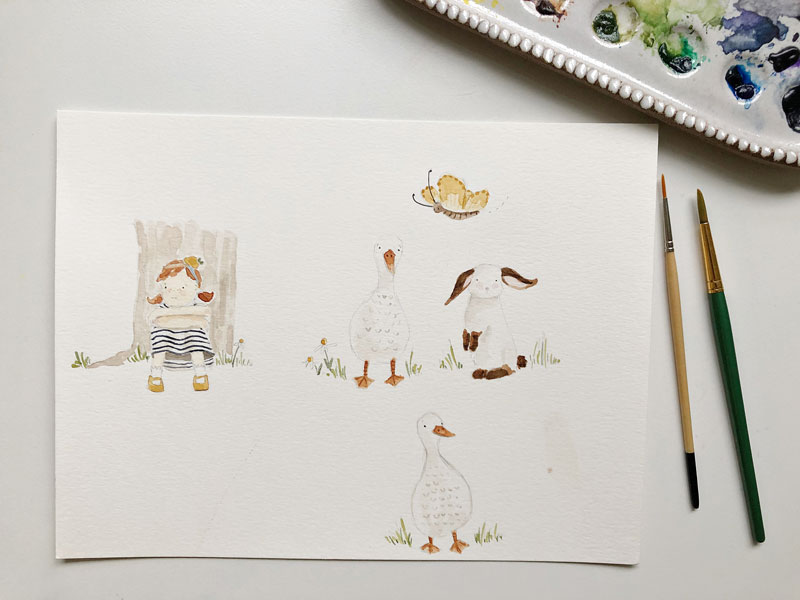
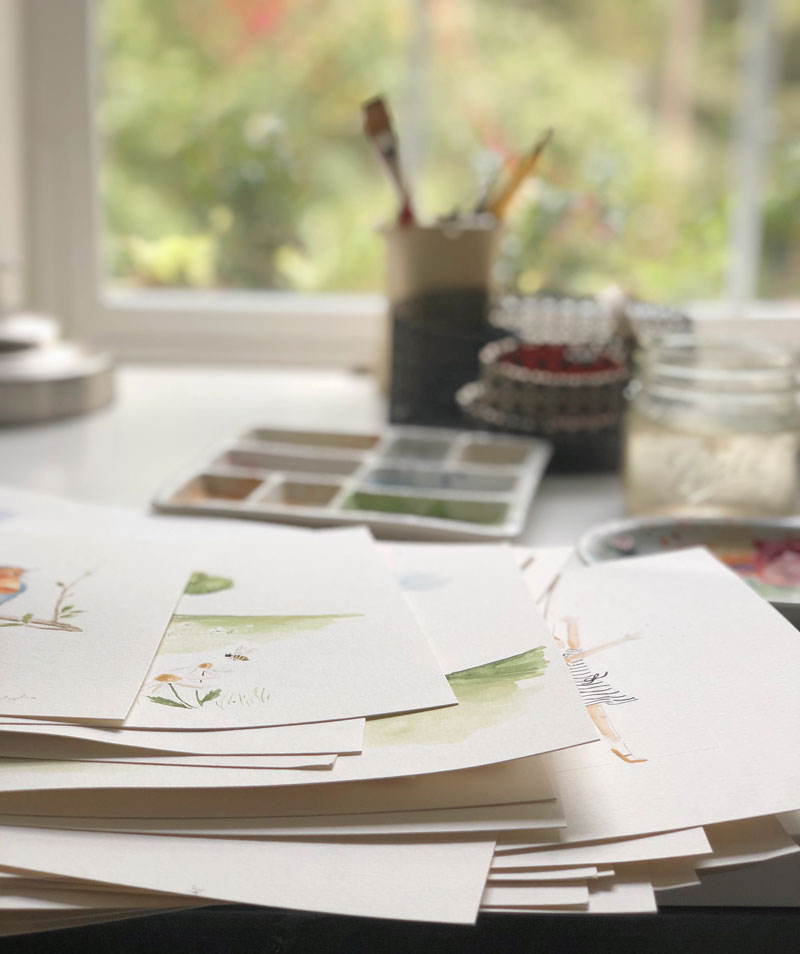
Once the sketching and story-boarding were figured out, it was time to create the actual artwork. I mostly moved chronologically through the story, saving the hardest and most intimidating pieces for last. For about six weeks, I sat at my watercolor desk working on artwork. Each day, I didn’t know if I could get what was in my head out on paper … and each day I surprised myself with what was created. Truly, every single illustration shocked me. I didn’t know I could do that! It felt like a happy partnership between me and the Holy Spirit and I love that I can’t look at any of the illustrations in the book without recognizing that it was not by my own creativity or expertise or talent.
Many illustrators sketch their artwork and refine it until it is just right before transferring it to the paper for final artwork. I did a little bit of transferring (tracing paper works great!), but mainly prefer to sketch directly on the final paper. I like the sketchy, imperfect pencil lines showing. If you’d like to see the sketching and painting process, I created a timelapse video for you!
finishing up
Once all of the watercolor artwork was complete, I scanned the images, pulled them into photoshop to make slight edits (removed the watercolor paper texture from the background, erased any extra marks, moved an eyebrow or flower slightly if needed), and saved the digital piece. This allowed me to do the characters and scenery separately and layer/move/adjust as needed for the final artwork.
I found it really helpful to create page layouts in Illustrator with the finished artwork and text. It allowed me to see how each page would flow and create a layout that I liked. And, it was fun to print it out because sometimes a paper copy is just nice. I’m not sure if this is a normal step for illustrators, but, hey, I’m new at this!
After all of the pages were complete, I sent the individual artwork files and my layout samples to the publisher for the designer to format. I wasn’t sure if they would stick with my page layout, but they mostly did!
all the extras
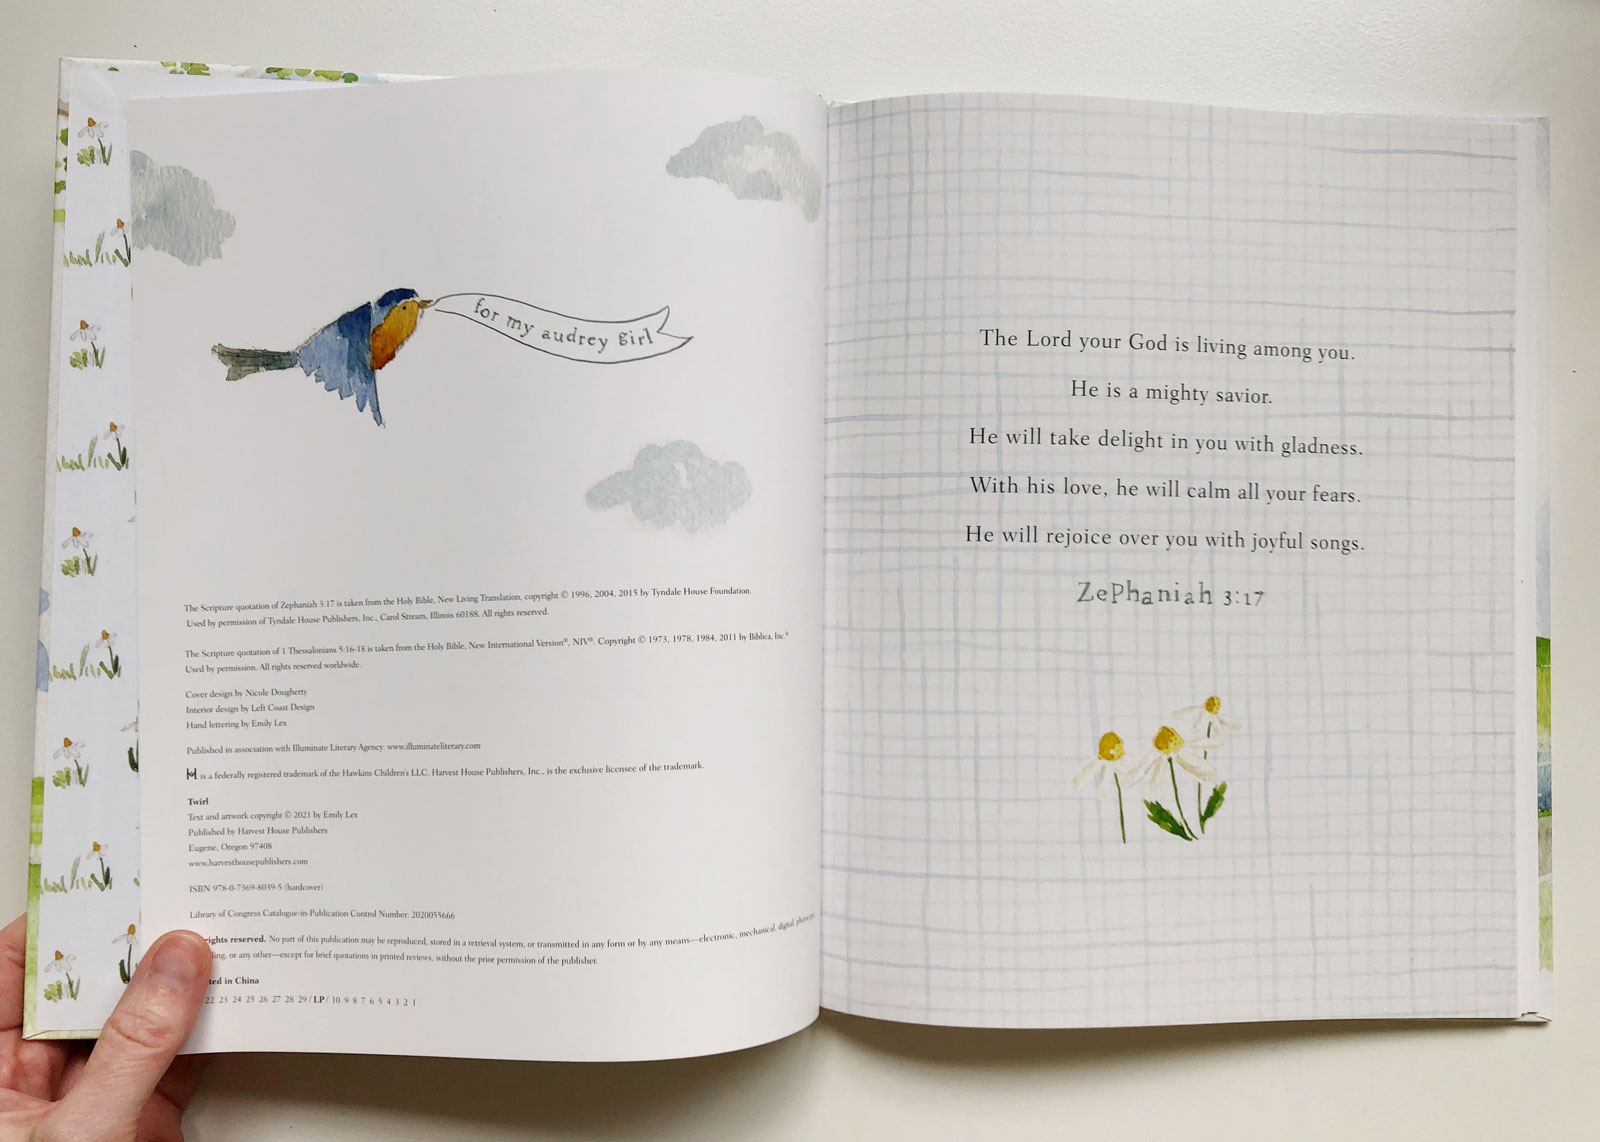
You know how much I love paying attention to little details and this book is no different. You’ll find cute end sheets (I love cute end sheets!), a sweet bible verse, dedication, and an about the author page. My publishing team was so creative with the suggestion for the about the author page and I hope it brings one last smile before you close the book. These special pages were so fun to create!
Oddly enough, the cover came toward the end of the design process. I offered a handful of cover ideas and together we picked a favorite. Up until the very last day before sending the book to printing I was making tiny adjustments to the cover (my publisher was so kind to let me be so meticulous!). You can read more about the cover here.
One thing you may notice is that I was able to incorporate some hand lettering into the pages of Twirl. We went round and round searching for the perfect secondary font and I’m so happy we landed on me putting some handwriting into the book. Having some words in my handwriting (a stylized version, at least) makes this book feel even more playful, more personal, and so complimentary with the style of Freely and Lightly.
Writing and illustrating Twirl was a dream come true for me and such an incredible learning and growing experience. I hope this was a fun peek into the illustrating process. If you have any questions, please leave a comment and I’d love to answer!
This is the story of how the story of Twirl came to be.
Children’s books have been a longtime love of mine. I love the stories, of course, and the cadence of the words. I love the subtle humor and wit in some and the ways others can speak right to an adult’s heart. I especially adore the illustrations. As a young girl, I remember studying the artwork in my favorites, learning to draw by seeing how children’s book illustrators drew, appreciating the different styles – from the scratchy lines in Alexander and the Terrible, Horrible, No Good, Very Bad Day to the whimsical details in TheJolly Postman.
I don’t remember exactly when writing and illustrating a children’s book became a dream of mine. I suppose it’s just been lingering for as long as I can remember. I do know that I first started saying the dream out loud around 2015. But even then, I didn’t know if it would really become reality. I was HUGELY intimidated by the idea. Who am I to write a children’s story? And, especially, who am I to illustrate one?! So I never did much to pursue the dream.
After a season of personal growth and healing and pivoting in the work I was doing, an opportunity to write books came my way. In March of 2019, I signed a three-book contract. Included was a book for women, one for children, and a companion journal to go along with the first. Typically, before you sign a contract with a publisher, you write a proposal with a fairly specific idea and outline and sample chapters, or for children’s books, you create a storyboard and have a rough story written. My book-writing experience is all upsidedown and we signed a contract before really knowing what any of the books were about. Both the publisher and I felt confident something good would develop and I quickly got to work.
Freely and Lightly was up first (it’s the story of what God did in and to my heart during that season of personal growth). I spent the second half of 2019 writing the book and turned in my final manuscript at the end of the year. Editing and artwork took us into the first few months of 2020.
My second book, the children’s story, was up next and due in early August 2020. I always knew I would call it Twirl, and I wanted it to be a story that would encourage my daughter in a gentle way to be who God created her to be … and that was about all I had. I wasn’t too worried about the deadline as I had months to finish itand I knew the story would come once I put my brain on it. My plan was to use the spring while the kids were at school to write and illustrate and surprise my publisher when I turned the whole thing in early.
Well, then the pandemic came along and the kids came home and everything changed and suddenly I found myself sitting around a fire with my girlfriends in June with a manuscript due in a few weeks and only the title and a couple of rough story ideas floating in my head. They were all a bit worried for me 🙂 Together we brainstormed and they spoke such kind words of encouragement as I told them my plan: the kids and I were headed to my parents’ house for the weekend and I was going to spend the entire four-hour drive in silence, praying for the Holy Spirit to give me a story and letting my brain have space to think while the kids listened to whatever they listened to on their headphones.
Three hours in and just as I prayed, a story suddenly began materializing in my imagination. I rolled it over in my mind, imagining the characters, letting this sweet story work itself out.
A little girl who loved to twirl came upon friendly animals who were doing their own twirling. What would happen when she tried to twirl like them?
That weekend, on my parent’s front porch, I wrote out the first rough draft. I shared it with my Audrey (who was 10 at the time) and she loved it.
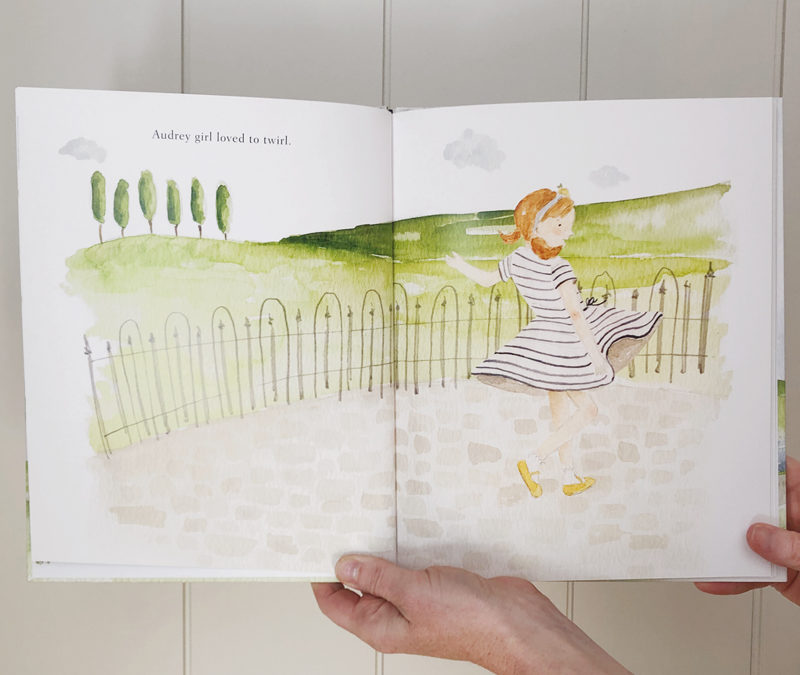
I didn’t yet have a name for the little girl in the book until it suddenly clicked: Of course! Audrey girl loved to twirl.
This book was written for our daughters, mine and yours, and little girls everywhere. I imagine bedtimes with dimmed lights, freshly bathed and pajama-ed darlings twirling along with Audrey and Mr. Duck and Miss Butterfly and Little Bunny as the story is read aloud to them. They giggle and pick their favorite picture and memorize the little refrain. And hear truthful words spoken over them before they lay their heads to sleep: You are perfectly and wonderfully made.
I didn’t know what the story would be and I love that it wasn’t me who came up with it on my own. I am just the mouthpiece to declare what God has been reminding me over and over again. My daughter, I am so pleased with who I created you to be! Just be who you are! Tip that chin up, throw those arms back … and twirl.
May it become a family favorite in your household and an encouragement to little (and grown) girls for years to come.
I know, it’s a cheesy phrase that you’ve likely heard a thousand times. But today it struck me and when I looked up the definition, it settled in even deeper:
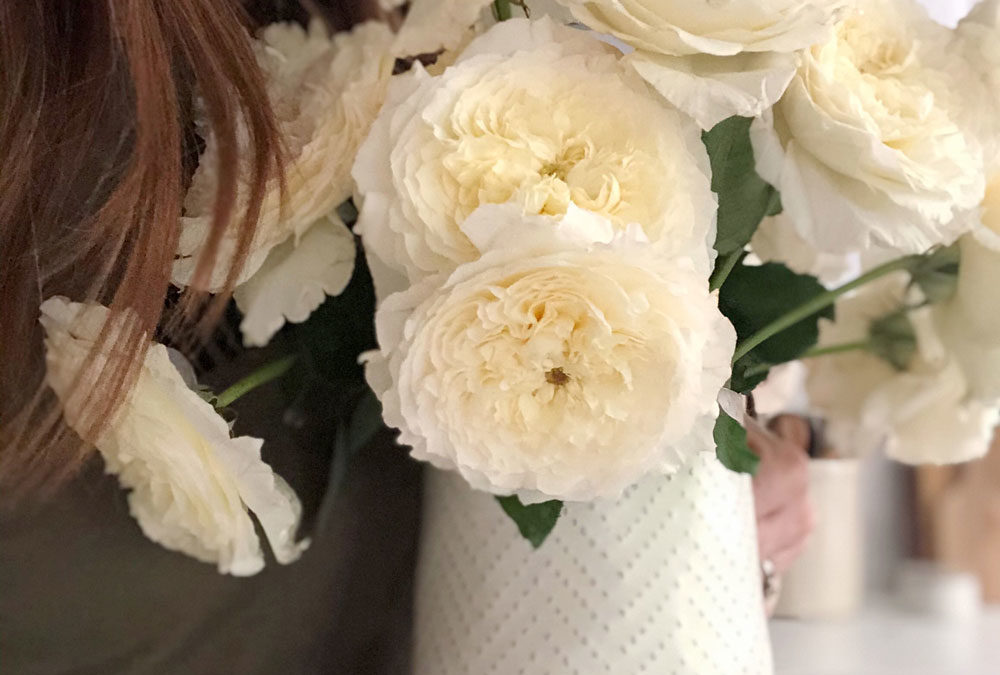
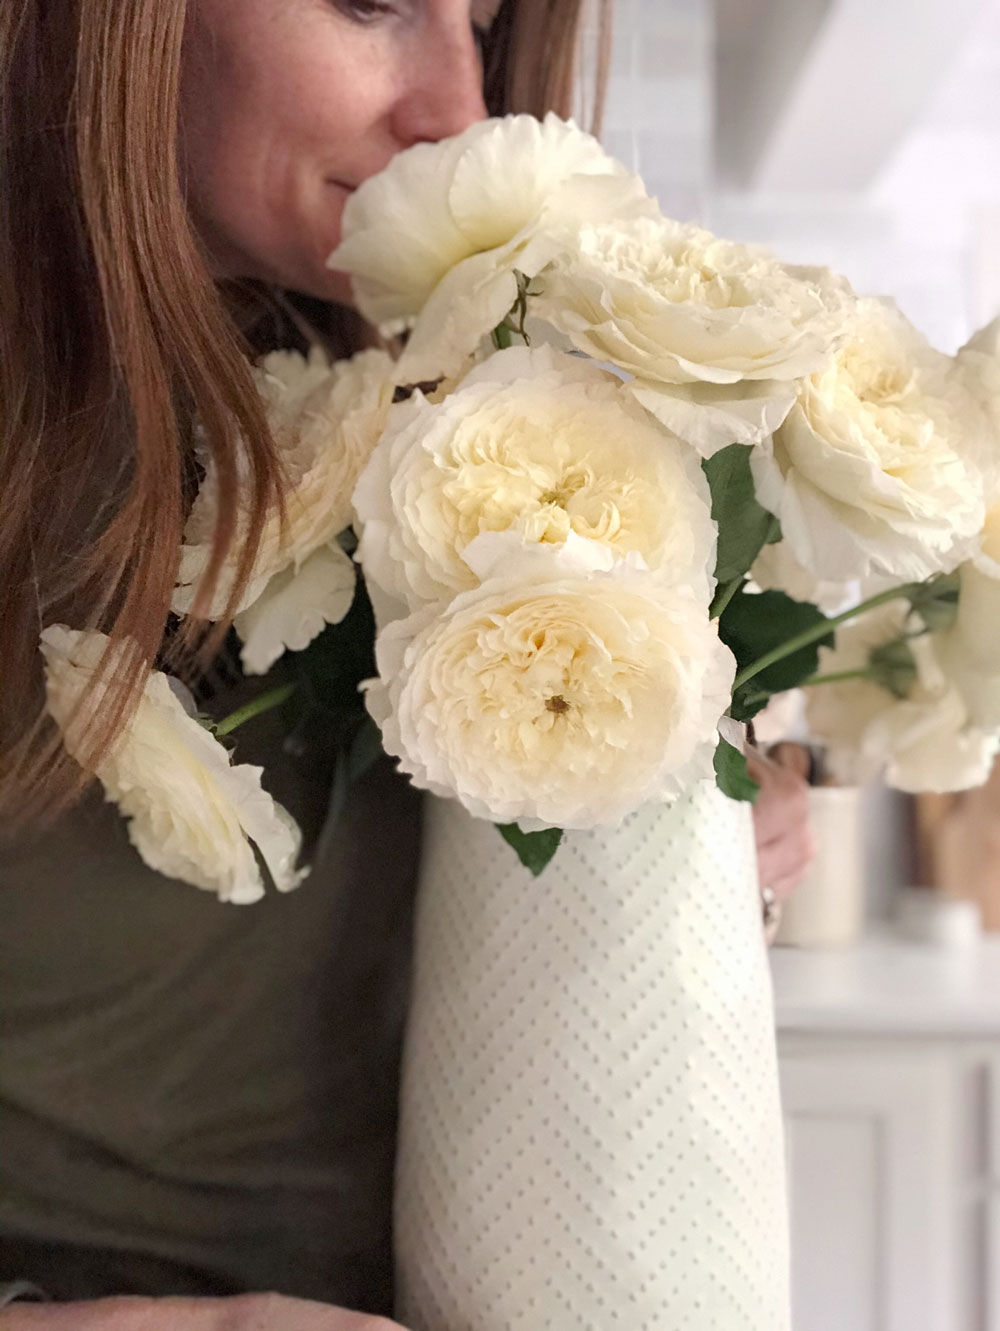
Stop and smell the roses
(idiomatic) To relax; to take time out of one’s busy schedule to enjoy or appreciate the beauty of life.
To stop and smell the roses means intentionally slowing down, lifting your eyes, and paying attention. It’s noticing the little things that give life meaning, the moments that make you smile, pointing out what’s lovely in the midst of everything else.
I’ve been circling around and around trying to pinpoint the purpose behind the work I do, the value of this weekly email, the products I create. Today’s pondering is exactly what I needed to fully articulate it.
Delight in your everyday.
I hope that’s what you experience through the words and art found in my books, on social, in the weekly emails, when you receive a package or simply scroll the website. I hope you are encouraged to delight in your everyday.
And, above all else, may the stopping to smell the roses remind you that God is good and you are loved.
For years and years I dreamed about writing and illustrating a children’s picture book. I didn’t know exactly what the story would be, but I always knew if my write-a-children’s-book-dream was to come true, I would call it Twirl.
If you are a blog reader from the Jones Design Company days, you might remember this blog post (from 2010!) where I first mentioned what the word twirl meant to me.
If you listen to The Happy Hour with Jamie Ivey, you may have heard us talk about this book dream of mine when I shared the title way back in 2015.
If you’ve read Freely and Lightly, you know just how much the word and, more importantly, the meaning behind the word, has had in shaping the journey to finding peace in being just who God created me to be.
And now, I’m so excited to share this dream-come-true book with you!
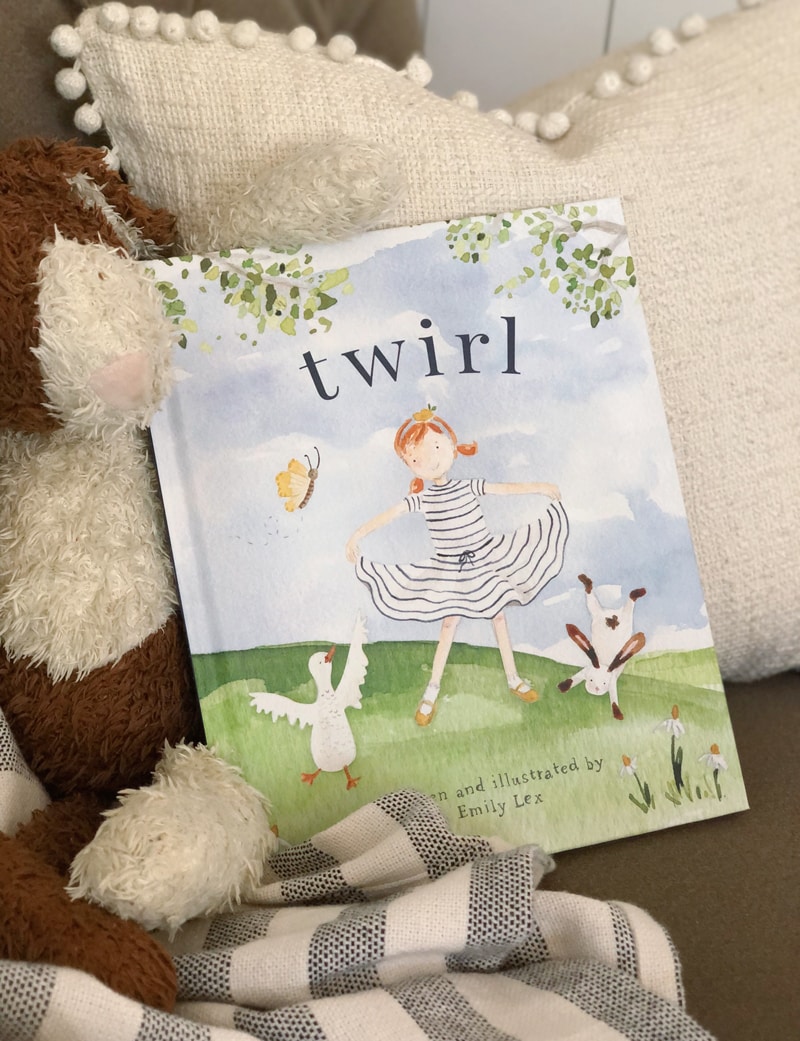
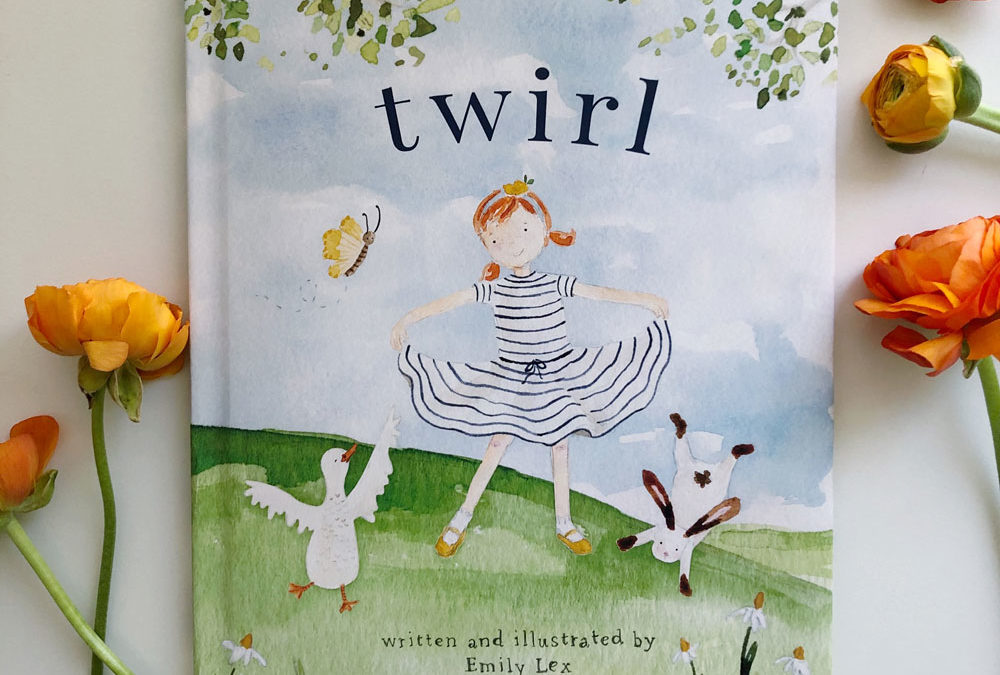
Meet Twirl, a sweet story with adorable characters, charming illustrations and a message that all little (and big!) girls need to hear: God is so delighted by you being just who He made you to be.
I can not wait to tell you so much more about this sweet book – the story behind the story, the process of illustrating and watching it all come together. But for today, let’s talk about the cover!
the cover
I’m one of those that definitely chooses a book by its cover (you too?!) and it felt especially important for a children’s picture book.
A cover of a picture book must be eye-catching, it has to make both a parent and a child want to pick it up and open it, it needs to look cute on a bookshelf (that my requirement at least!) and it should at least give a hint about what to expect inside.
After finishing all of the illustrations, it was time to design the perfect cover for Twirl that hopefully hit all of the picture book cover criteria.
I’m not sure if this is how it is normally done, but because I did the illustrations, I also came up with an assortment of cover ideas to share with my publishing team. Would you like to see them?!
As you can see, coming up with just one option was impossible 🙂
I played with layout first. Did we like a patterned background with just a peek at the characters? Or a full scene?
While I love the simplicity of the first row of options, it was unanimous between the friends I showed the samples to and my publishing team that the grassy hill and tree scene was more eye-catching.
From there we moved to poses. Did we like Audrey twirling with her back to us? Or that kick-y pose? Nope, neither felt quite right so I painted a new version with her holding the skirt of her dress and that one was the winner.
Then we went into the little details: watercolor background or just a few clouds? Flowers in the foreground or keep it simple? Title curved or straight across?
And finally, we had to figure out the font choices. I’ll tell you more about that in another post.
After lots of back and forth and tiny adjustments (you guys, I am sure my publisher rolled their eyes a hundred times at my overly-detailed requests) we landed on the final, final, final cover.
Isn’t it cute?!
I’ll have much more to share about Twirl in the upcoming weeks as well as special gifts and surprises that you won’t want to miss.
Thank you so much for your excitement about this project. I truly can not wait for you to hold this book in your hands, read it to the little girls in your life and share it with friends.
The more I paint, the more I realize I have go-to colors I reach for again and again. Instead of having tons of paints in a palette that don’t ever get touched, I decided to streamline my colors and just add the ones I regularly use.
There are so many different options for watercolor paints at all different price points and I always recommend just starting with either what you already have on hand or picking up the best quality set you can find in your price range. I have a few of my favorite beginner sets picked out for you on the Watercolor Supplies page.
I painted with an inexpensive set of cake watercolors for years before switching to tubes. Tubes of paint are more expensive, but also more saturated, better quality paints that offer truer colors, better translucency, and mix well. I paint pretty much exclusively with tube paints now. I mainly reach for Winsor and Newton and Holbein. I haven’t done a ton of experimenting with different brands and qualities of paints, but I can say I’m really happy with the professional grades of both of these brands.
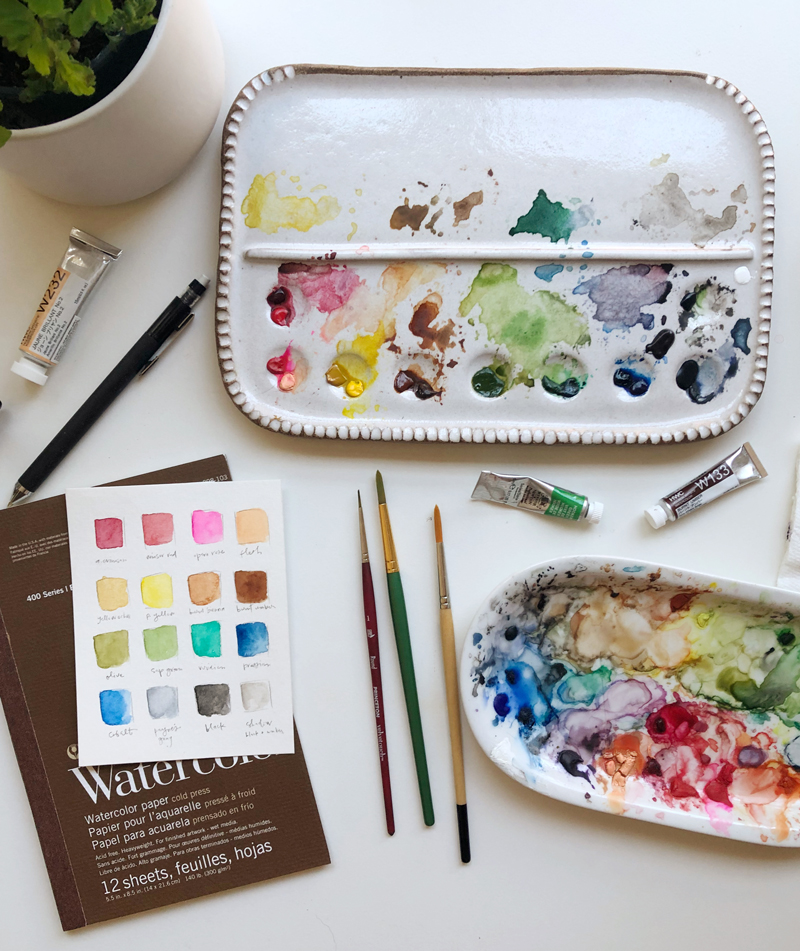
I thought it would be fun to share with you the exact colors I use and how I set it up!
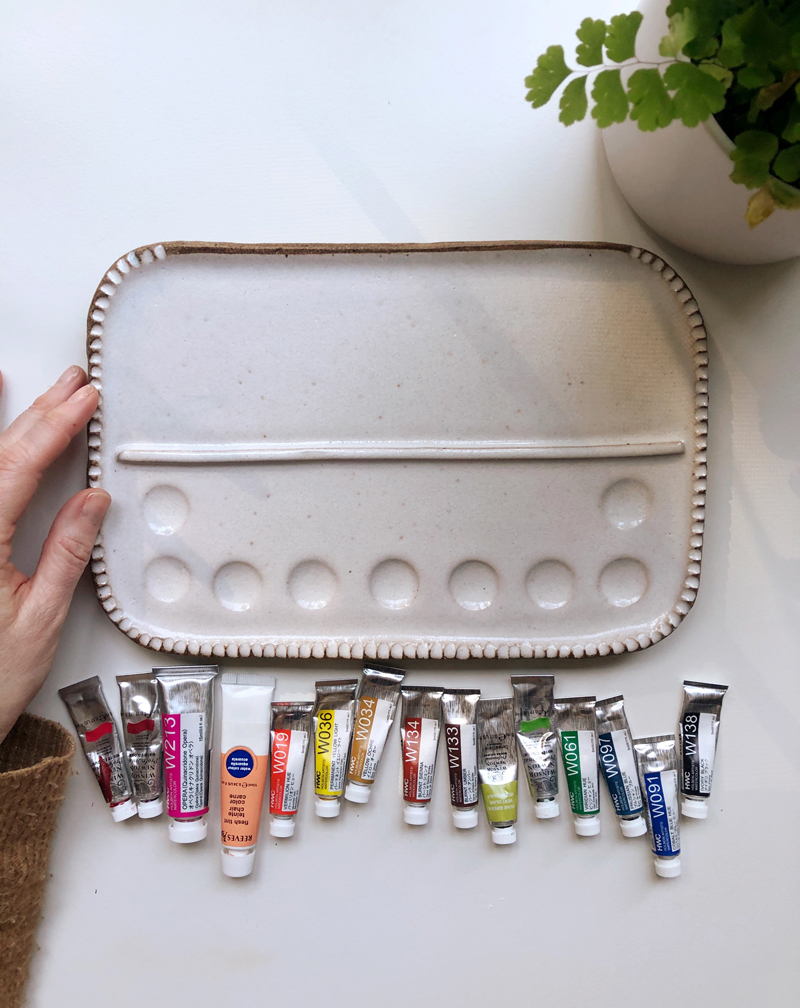
This gorgeous palette is from Sylvan Clayworks. It is handmade and beautiful in person and I was SO EXCITED when I finally got one! They are restocked every couple of months and sell out in minutes so make sure you join the Sylvan Clayworks email list to be notified first when the restocks happen. I have the medium palette.
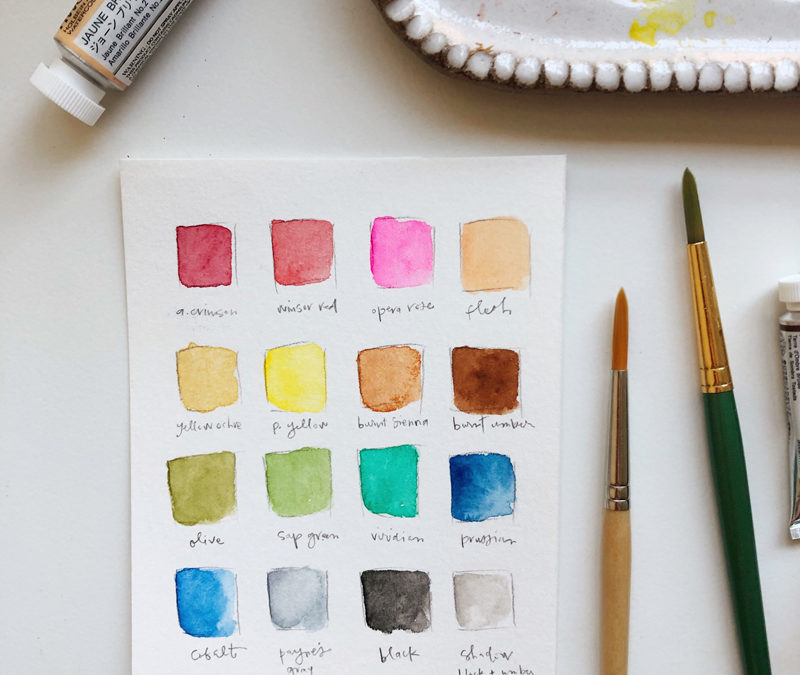
I like an assortment of all colors – reds, peach, yellows, browns, greens, blues, and black and have picked my very favorites to put on my palette. With just a few colors, you can mix almost every other color and I really do love the process of mixing so it works well for me to just have a few options.
P.S. The way tube paints work … you just squeeze out a little bit on a palette (a dinner plate works great!) and let it dry overnight. To use, just activate the paint with water, mix directly on your palette and when you’re done painting for the day, just let it all dry. You can reactivate with water or wipe it off with a wet paper towel if you need more room to mix. You can see below what one of my older palettes looks like:
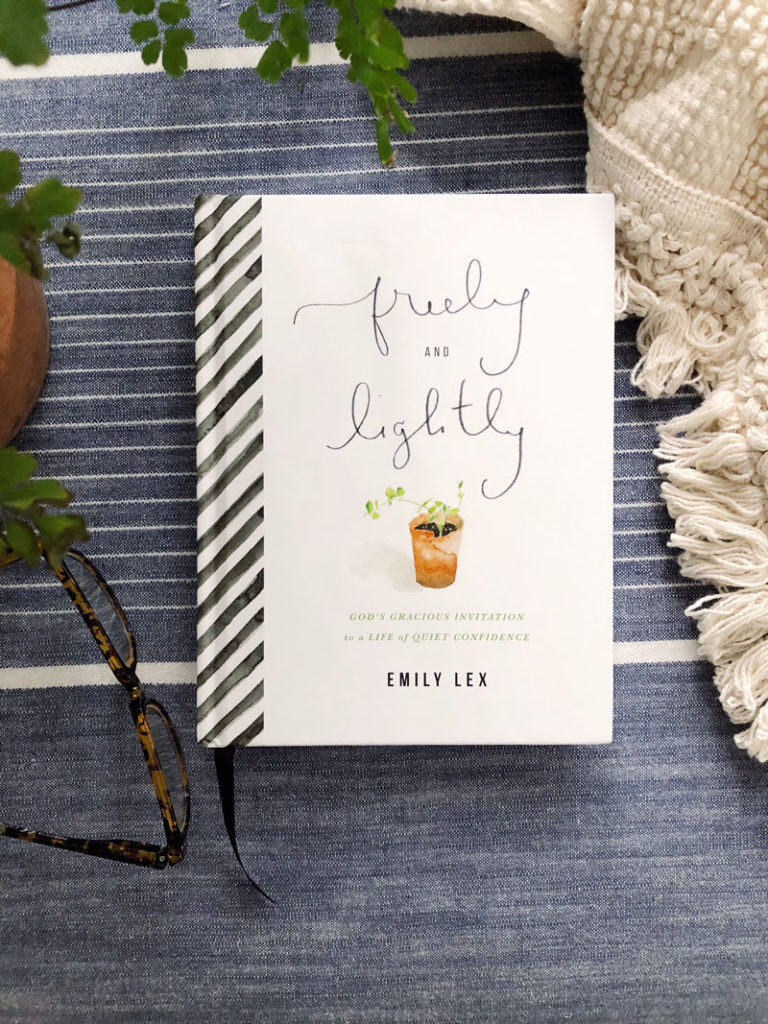
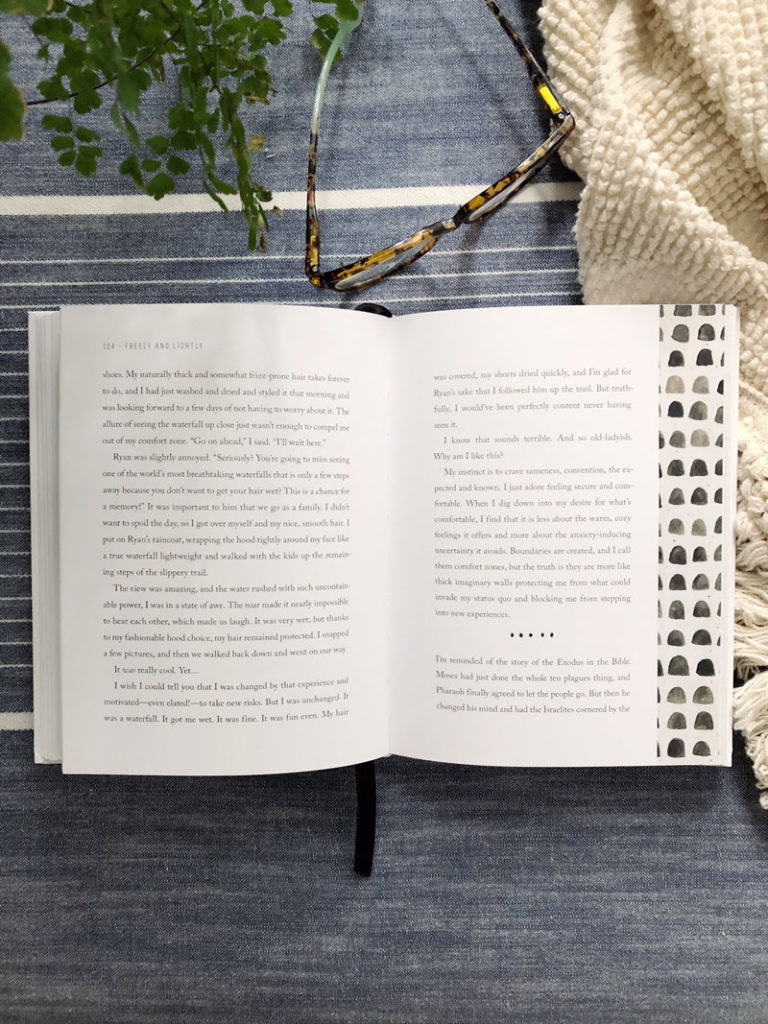
Freely and Lightly combines word and art is such a beautiful way. My publisher gave me total creative license with adding in full-color art throughout the book, giving the nod of approval when I asked if I could create special endsheets (you’ll see those in a second!), adding in a journal-y touch with hand-lettered Scriptures and making each page feel special with watercolored borders.
The story and words found on the pages are so dear to me and I hope they will be encouraging to you. AND ALSO, I hope you are delighted by the pretty art.
Let me show you around the pages.
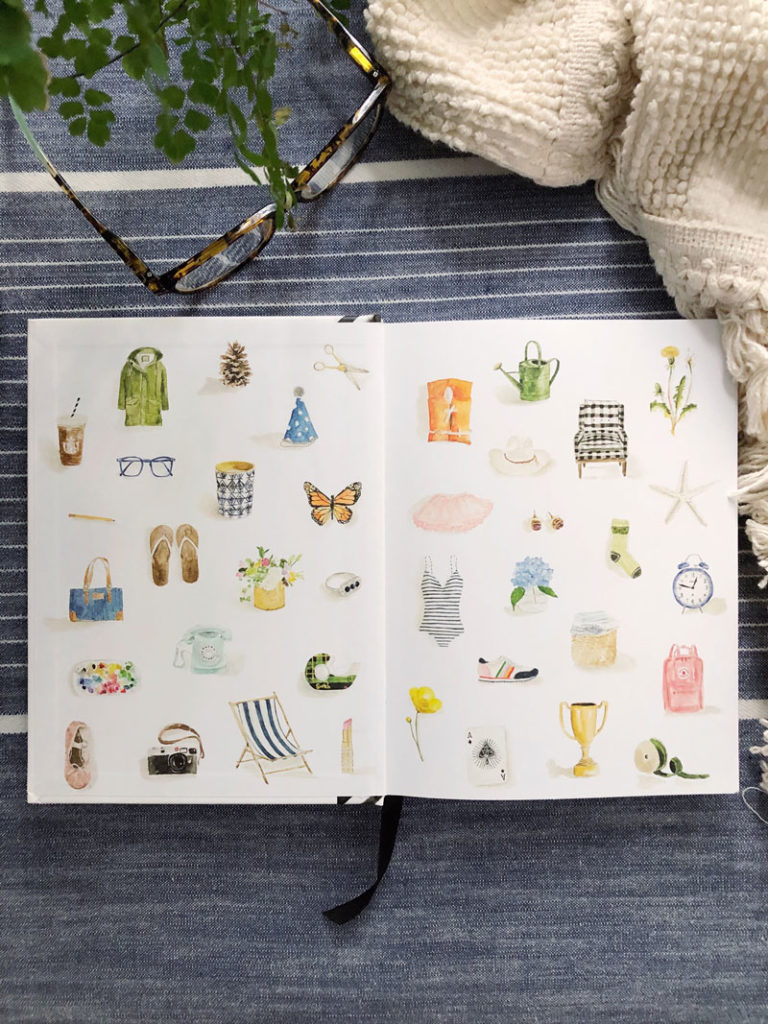
endsheets
The endsheets are those first and final pages that hold the hardback cover together and the perfect place to set the tone for the whole book. One night, inspiration struck and I pulled favorite illustrations found throughout the book and created a collage. I really love these pages.
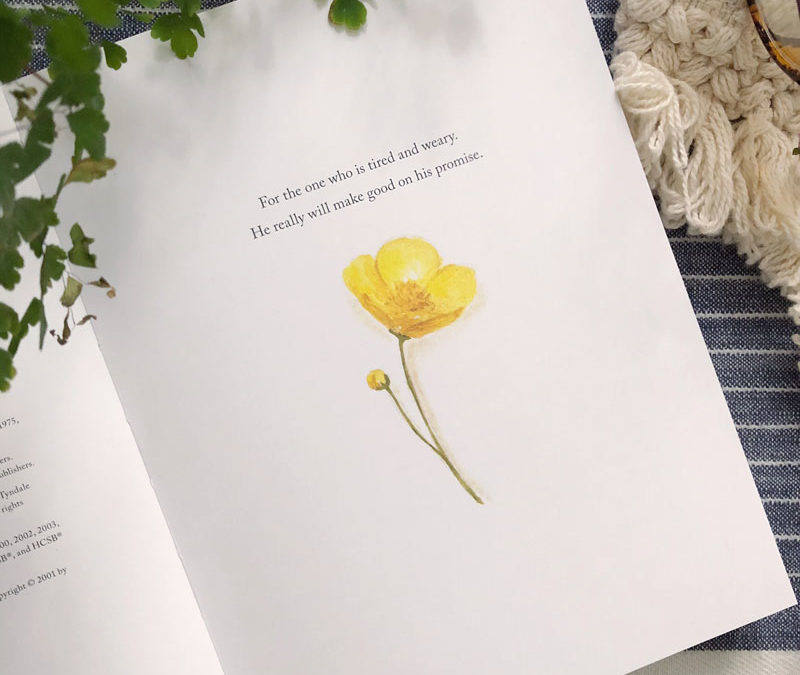
dedication page
Most books have a little note at the beginning with a dedication. I love reading these in other books and knew I wanted to include one in this book. I went round and round thinking and praying about who this one is really for. Many people dedicate their books to their parents or spouse or children and I contemplated all of those. I am grateful, of course, for the support of Ryan and the love of my parents and I truly hope my kids will learn the truths found in the book and avoid many of the struggles their mother experienced. But, honestly, that’s not really who I wrote the book for.
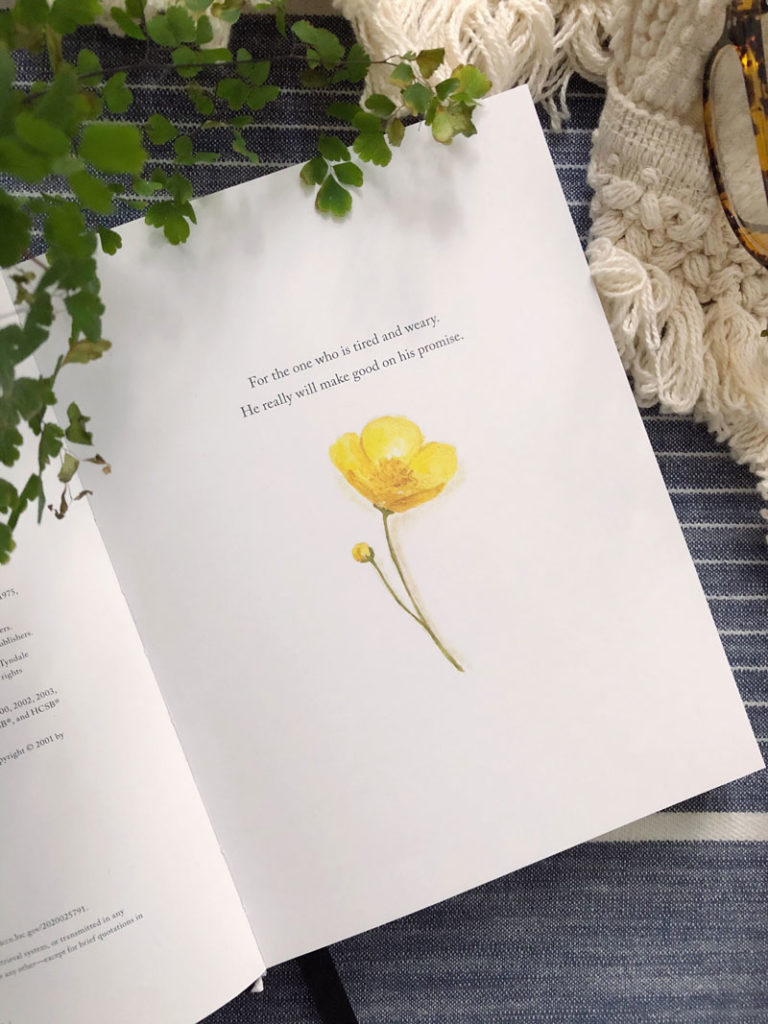
I wrote it for the one who is just like me and who needs to know she is not alone and there is hope. When it came time to turn in a finished manuscript with dedication, the words came quickly and my eyes filled with tears: For the one who is tired and weary. He really will make good on his promise.
the chapters
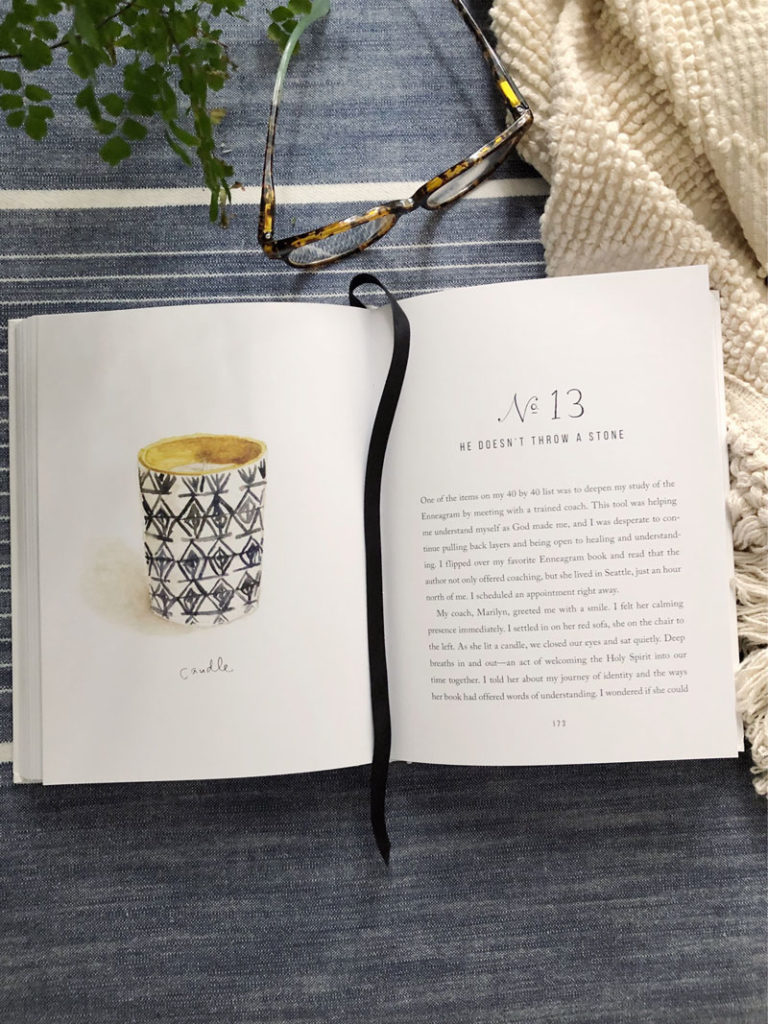
There are 20 short chapters in all and each one begins with an illustration that relates to the message and a hand-lettered chapter number (I sort of love the chapter numbers!).
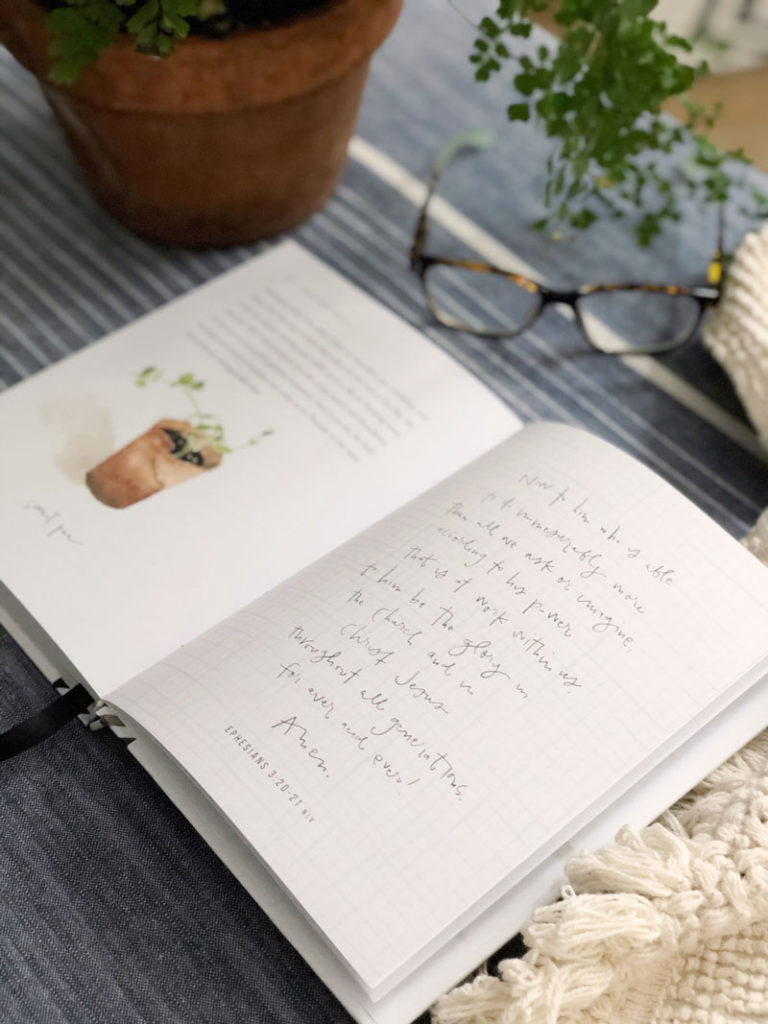
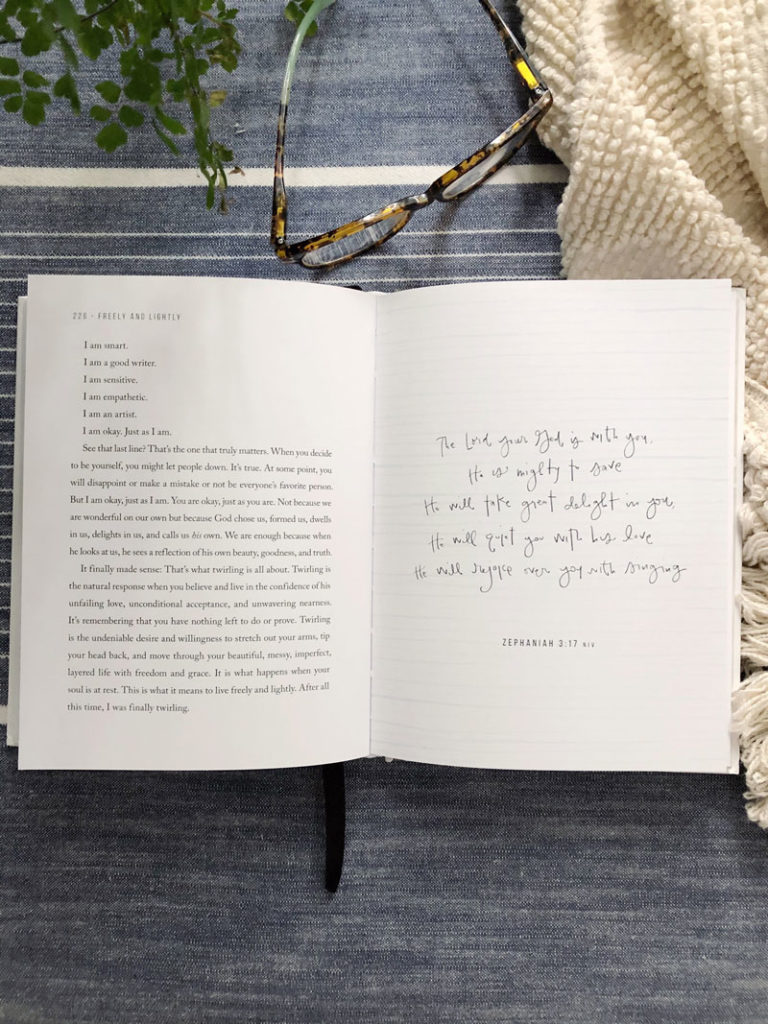
We wanted each page of the book to feel special and included artwork, hand-lettered scriptures, and watercolor borders.
I hope that as you read the story, the art will enhance your time with the book. May each creative element offer a chance to pause, be still, enjoy and bring a smile.
The book releases on March 2nd. I can’t wait for you to hold it in your hands!
Have you ever found yourself right in the middle of a thing you signed up for and realize you really don’t know what you’re doing?
I’m pretty much there. Actually, now that I think about it, it’s how I’ve felt since the very first days of conversation about writing a book began. I’ve never written a book. I’ve never illustrated a book. I’ve never marketed a book. I’ve never been interviewed about a book. So I guess it makes a lot of sense that I don’t know what I’m doing 🙂
But here’s what I’m finding: even though I don’t know what I’m doing, I know I’m doing the right thing. Does that make sense?
Maybe it’s like those early days of motherhood. You don’t really know how to hold your baby or feed your baby or bathe your baby (they feel so fragile!), but this baby is yours and you are its mother and nothing feels more right than holding her close and staring at this miracle that came from you. You figure it out as you go, asking for help, watching how your friends and sisters are doing it, learning along the way and giving yourself lots of grace because of course you don’t know what you’re doing! You’ve never done it before!
It’s funny that a motherhood analogy came out because that’s what so many authors liken their books to. You grow it and labor over it for months and months (in my case, nearly 2 years!), and then it finally comes time to hold it up to the world: Look what I made! I’m so proud of this thing! I want you to love it and be moved by it and cherish it and smile every time you see it on your shelf!
It’s a weird feeling. A vulnerable feeling. A little bit anxiety-inducing, if I’m being completely honest.
Your new-to-you thing might not be launching a book, but I’m guessing there’s something you’re doing that you don’t quite know how to do. Here’s how I think we can do it well:
1. Remember that if this is what you are called to do in this season, you will have everything you need to do it (Philippians 4:13)
2. Ask for help
3. Look at how others are doing it to see what you can learn from them (apply what works, let everything else go – this is not a competition!)
4. Give yourself grace
5. Have fun
I once had a teacher tell me, “Emily, lighten up.” It stung. But he was so right. I tend to take things a little too seriously. Perhaps you do too.
Maybe today, we take a deep breath, offer gratitude for the good things we’ve been asked to do, remembering that they are just things we do, not who we are. And then keep going.
As the year comes to an end, this magical week between Christmas and New Year’s always feels like a deep breath. It’s a chance to rest, to think and reflect, and prepare for the change of the calendar.
One way I love to mark the end of the year is by noticing and naming the good things. It helps me look back on the last 365 days and find the things that brought joy, growth, entertainment, convenience, surprising delight.
Here is my list:
BOOKS
When I look back at my kindle library for 2020, I notice a theme: feel-good fiction. This was the year of easy reads, nothing that made me feel too much emotion, and, oddly enough, few books that were all that remarkable 🙂 There were a couple of standouts worth mentioning, though far fewer novels than in year’s past.
Here are the shows and movies that brought entertainment, thoughtfulness, mindlessness and creative inspiration.
The Chosen. This series is available to watch on the app and is absolutely beautiful. Season One covers the beginning of the ministry of Jesus (if I were not sitting with my family I could have let myself hyperventilate cry during episode one. It is beautiful).
What an odd year it has been for the kids and school. The spring was spent doing online school through our school district and the fall brought a new experience for all of us: Homeschool. It’s been good, challenging, tiring, freeing. We are grateful for adaptable kids and a mother-in-law who stepped in to help when overwhelm kicked in hard for me.
Abeka Online Academy (this is what we’re using. We mostly like it, but it is more intense than any of us expected).
Duct Tape (the perfect source of endless creation)
ART + WORK
2020 was the year of finishing up Freely and Lightly and starting on Twirl, two books that I am so proud of and so grateful to be part of. It was also a year of jumping back in the product creation world with Truth for Today cards and Watercolor Workbooks. What an incredible year it’s been for my business and finally feeling like I’m moving in the right direction. These are the art and work things that I reached for most this year:
What a year. Strange, yes, but also full of God’s goodness found in so many places. I hope you can take a few minutes to reflect on all that was good, true and beautiful about your year.
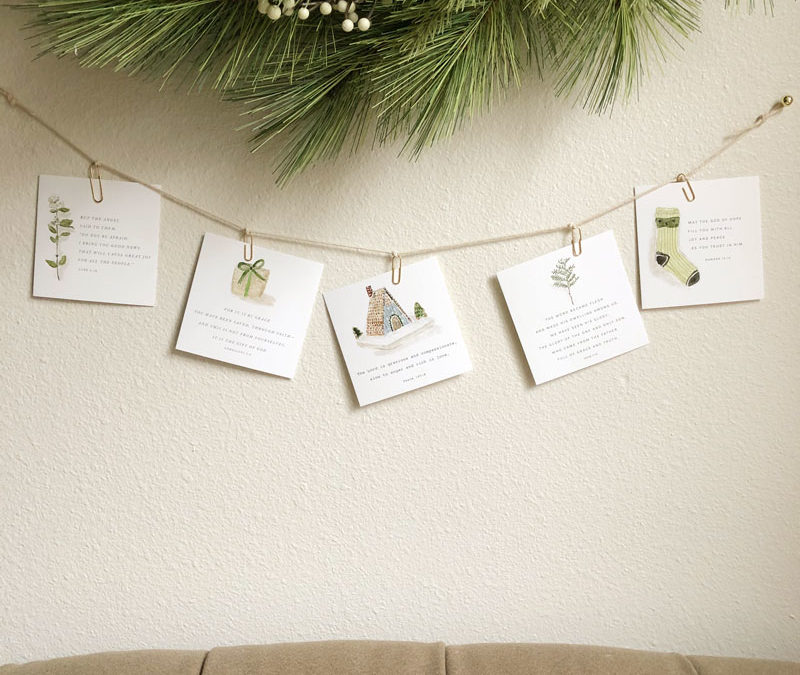
Looking for ways to display the cards? Here are four simple ideas:
string them up:
Add your favorite cards to a string with paper clips (just knot the clips to keep them in place). You could add a new card each day in December as we approach Christmas day! A string of cards across your mantle would be so pretty, but it also works to just tack them into a blank wall for instant decor.
set them out:
Look for a frame that holds square photos (I found this one at HomeGoods) and set atop a stack of books for a pretty Christmas display. Perfect for an entry console, bedside table, or on your desk.
stick them up:
Stick sweet reminders of Bible truths around the house. Simply tape a card to your bathroom mirror, the refrigerator, or wherever you’d like to be reminded of God’s goodness on a regular basis! Washi tape or masking tape works great and won’t ruin the cards once you’re ready to swap them out for another.
stack them up:
Place a stack of cards in a shallow bowl to keep on your dinner table. Each night, take turns choosing a card to read together.
I hope these ideas are helpful and encourage you and your loved ones this Christmas season!


")