
For as long as I can remember I have been delighted by children’s book illustrations. I loved the stories, of course, but most of all, my eyes were drawn to the pictures. The scenes, the tiny details, the colors, the characters, the expressions, the movement, I was captured by it all. By far, the most intimidating part of pursuing the dream of writing a picture book was also agreeing to illustrate it. And yet, now that it’s done, it was also one of my favorite things I’ve ever done.
So let’s talk about how the illustrations for Twirl came to be!
illustrating the characters
After writing the story, but before beginning on the illustrations, I took a very helpful picture book-making class (it is sadly no longer available) that bolstered my confidence and offered such practical instruction. I’m so grateful for people who share their expertise! I learned helpful book-making things like how to create a storyboard, how to make a little book dummy (to see how it all flows together), and also great advice for illustration. Here’s something I never knew: as an illustrator, you always want the motion of the artwork to lead to the right to encourage the reader to turn the page. It makes so much sense but I never would have known this if not for that class!
One of the things the instructor mentioned was that she will often hire her friends’ kids to model to help her figure out poses. If there is a scene with a child at a playground, for instance, she’ll take pictures of the child in that location to help her capture the facial and body expressions in her art. This was so helpful for me to know because I almost always use a photo to look at when painting and I loved having permission to do the same when illustrating a book.
So when I began thinking about illustrating a little girl, I started by scrolling through old photos of Audrey to use as a reference. It was so much fun! And made sketching a person (not something I do regularly) much more approachable.
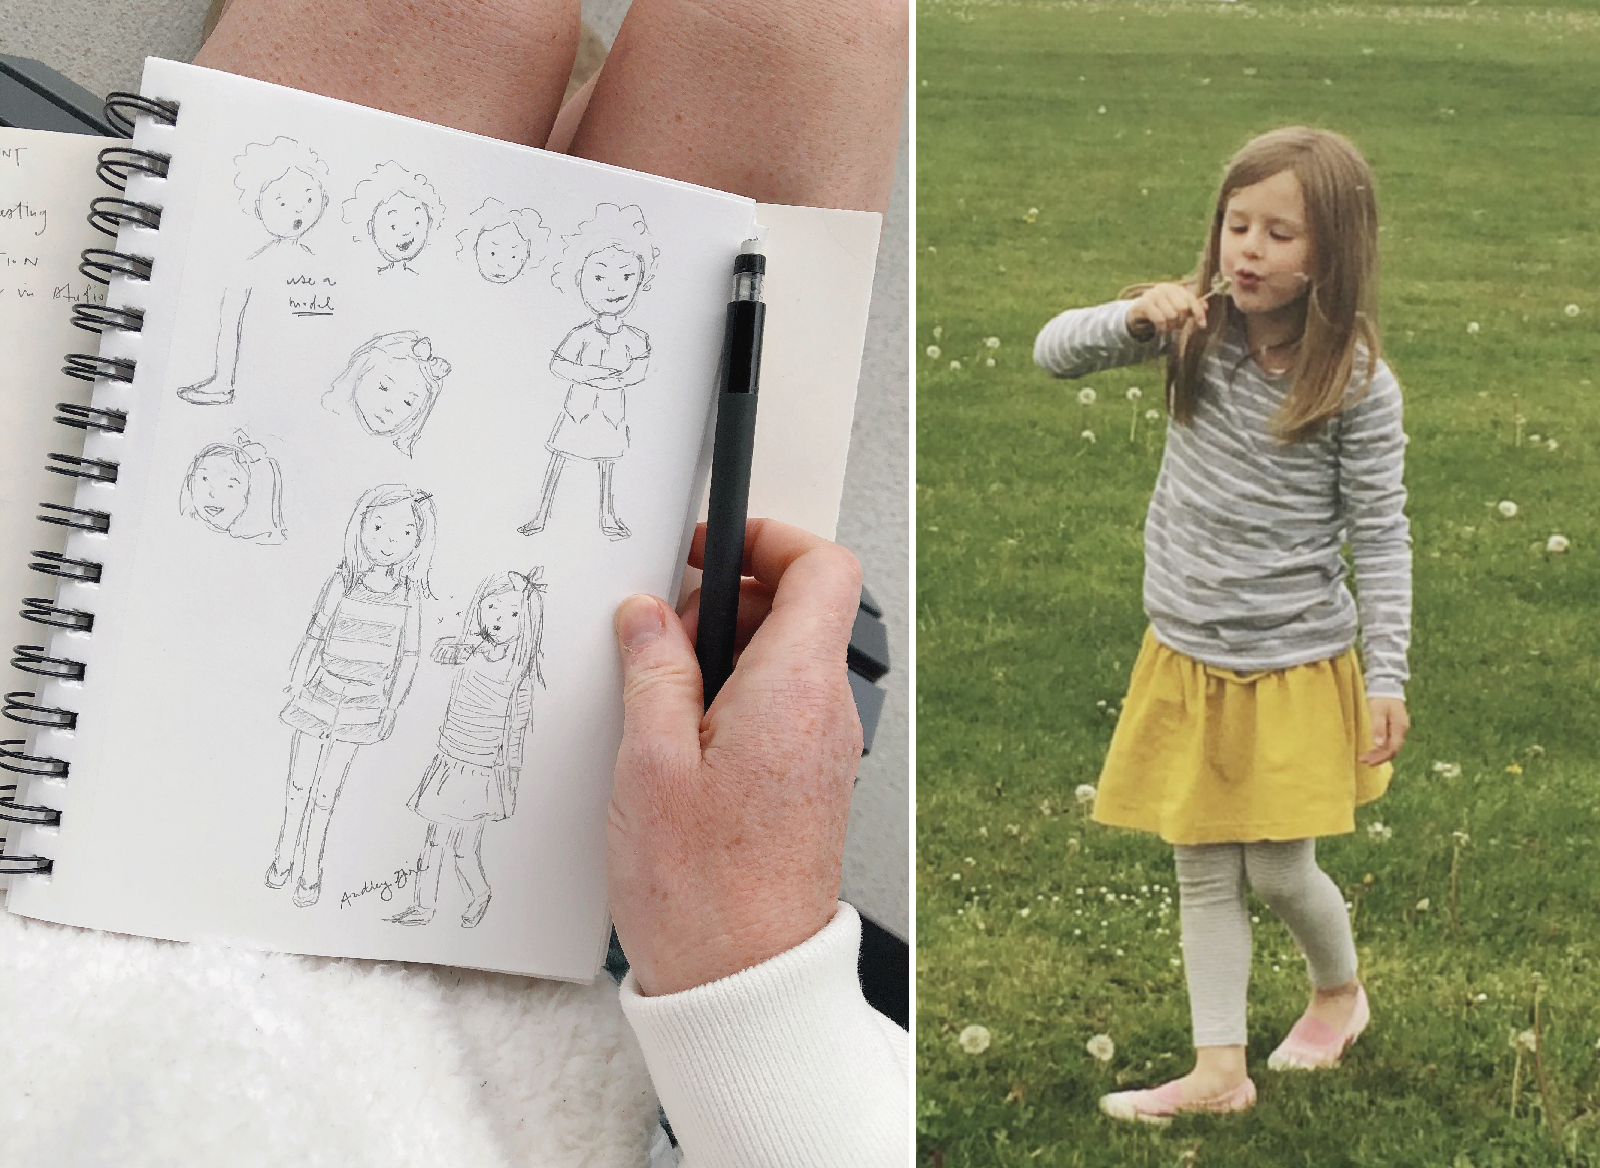
I continued to practice sketching, watched lots of illustration/figure drawing YouTube videos, and practiced some more until a little Audrey character started to take form. I tried her with different expressions and hair colors and outfits until ultimately deciding on red hair and faint freckles dotted across her nose. She is inspired by my Audrey girl, but deep, deep down, she is me 🙂
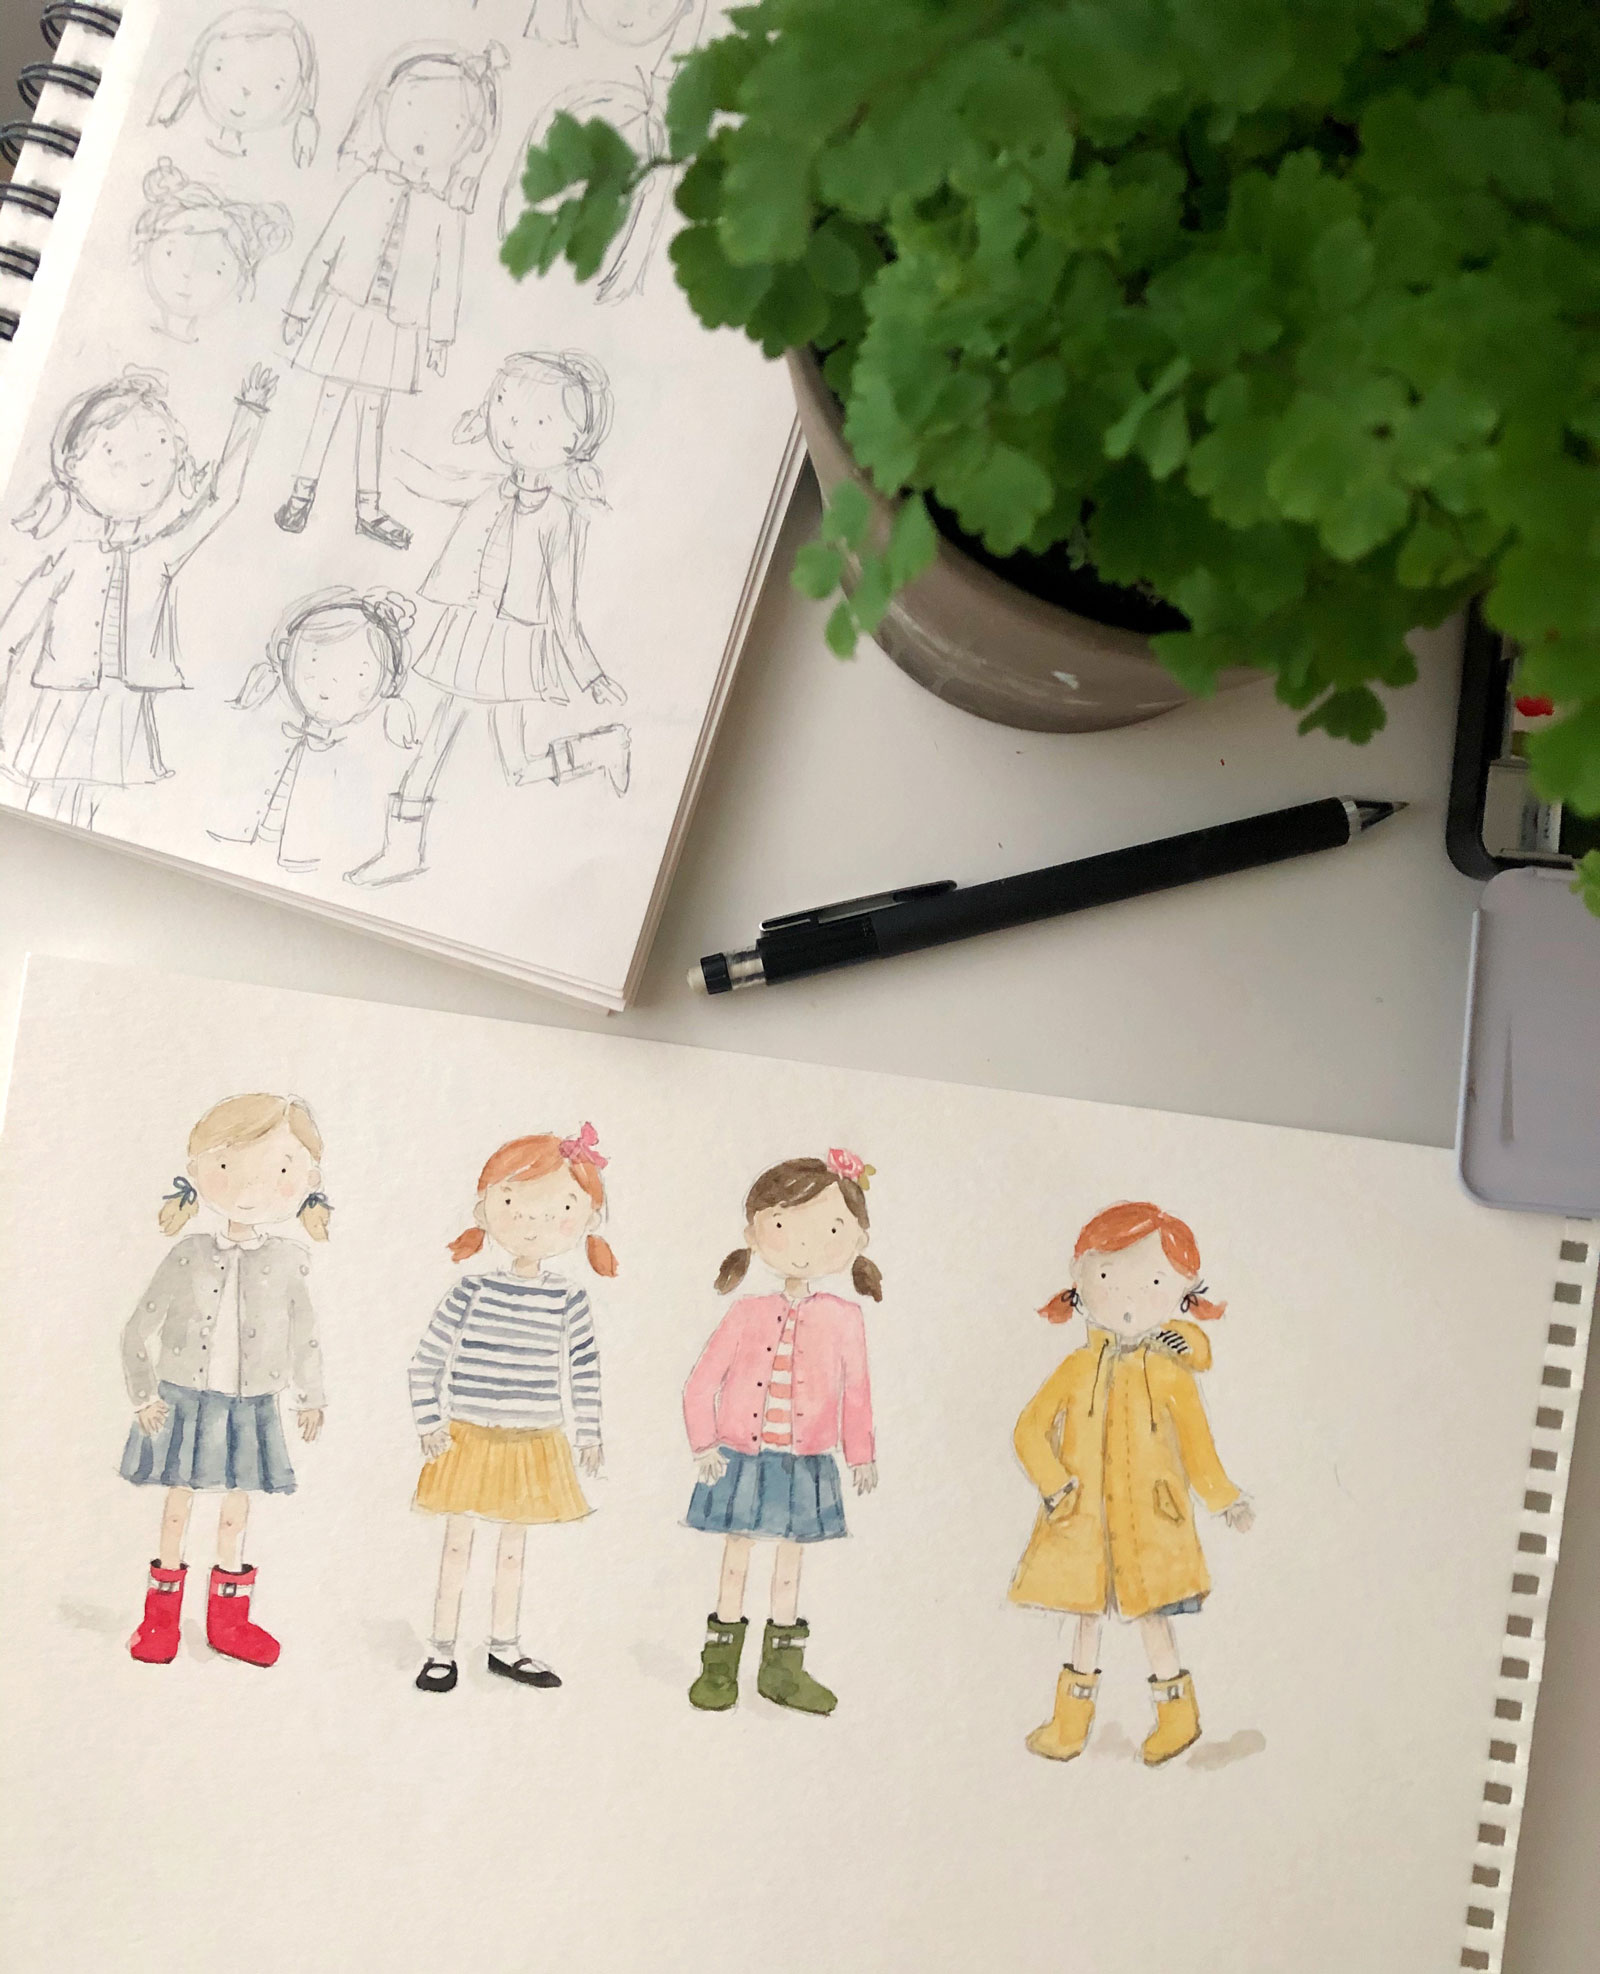
Once the real illustrations started, her little outfit emerged: a simple dress with a twirl-able skirt in navy and white stripes (of course!) fit her just right. She wears a headband and shoes that my real Audrey-girl wore and scalloped edged socks because there’s something classic and slightly British about her.
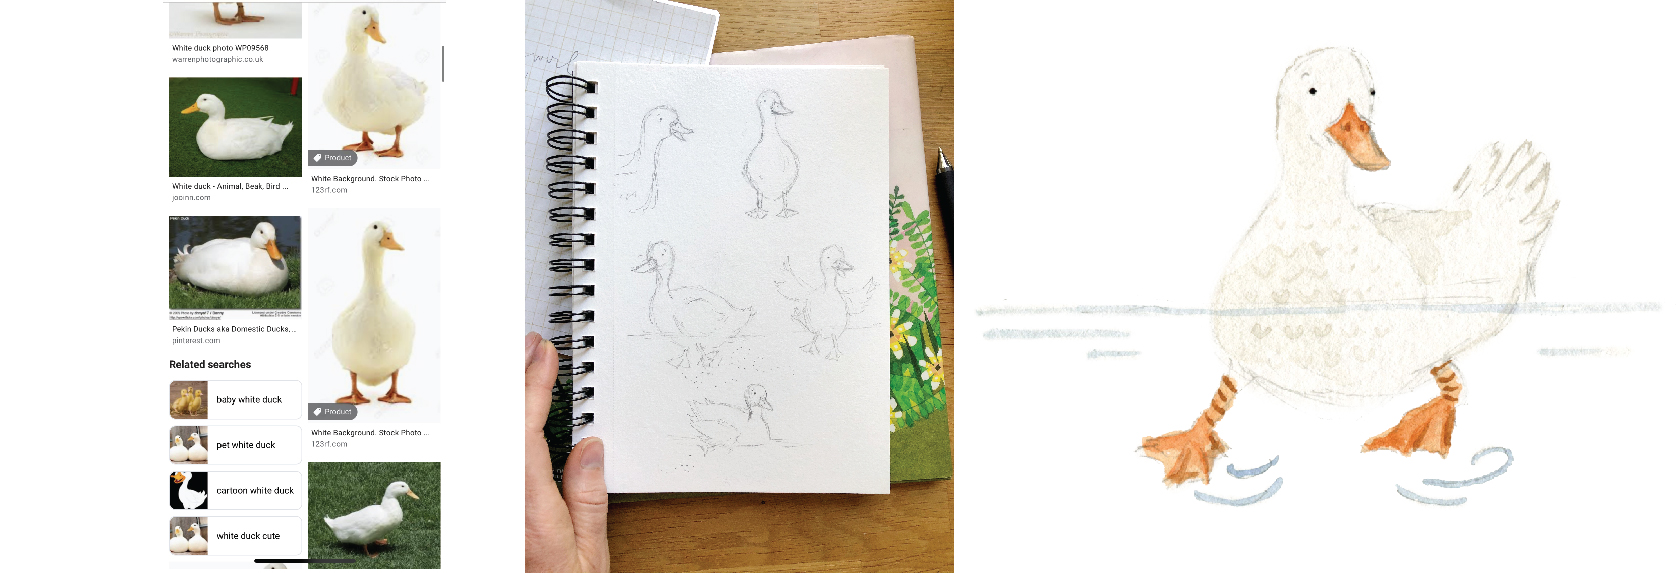
When it came to movement, I took the advice of the picture book instructor and used images as references. Most of the time a simple google search would deliver. Like, for instance, when I needed to draw Audrey doing a cartwheel or jumping:
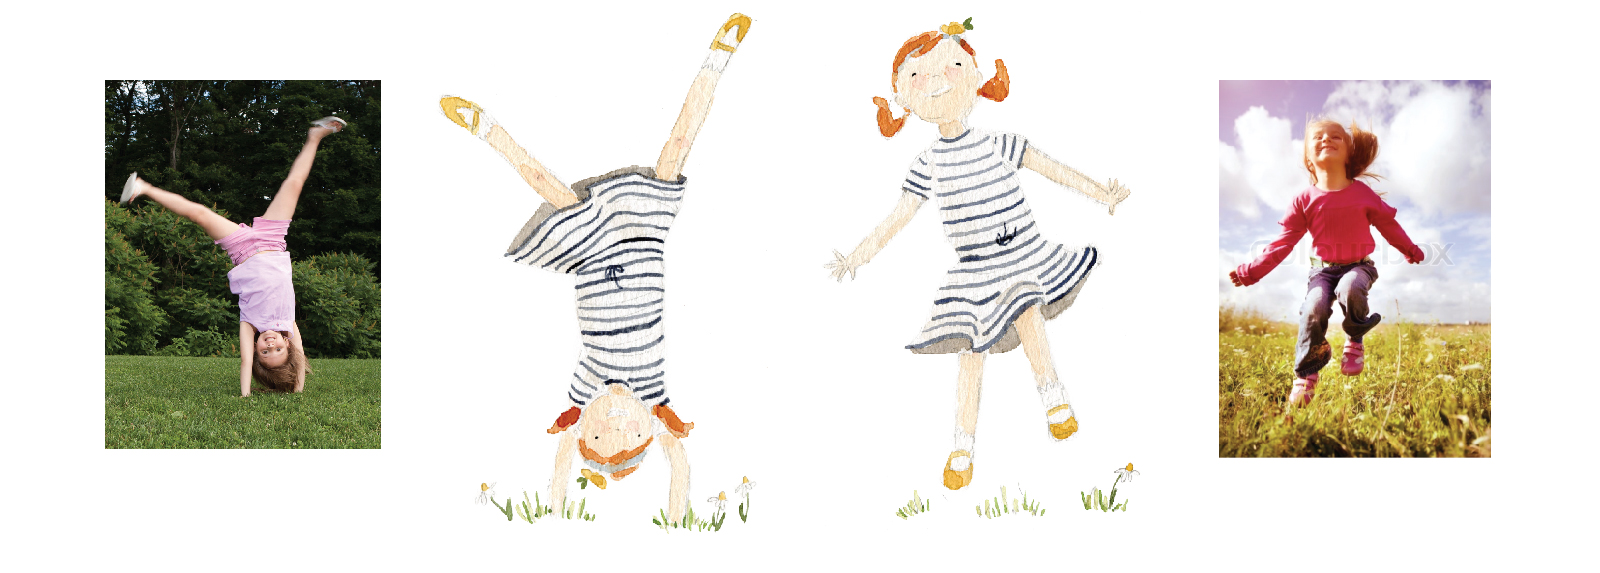
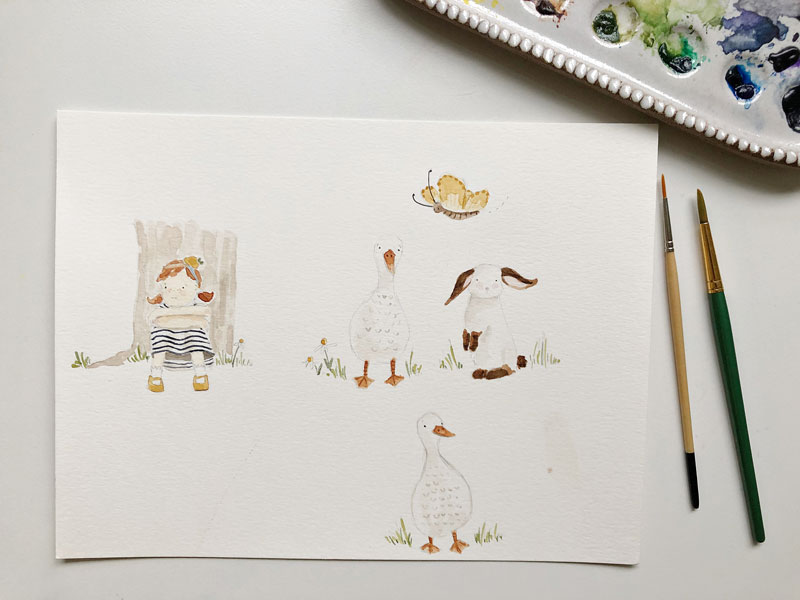
When creating the other characters, I used the same non-fancy method of googling images until I was inspired. Then I sketched lots of ducks and bunnies and butterflies, playing with colors and expressions until landing on the final Mr. Duck, Miss Butterfly, and Little Bunny.
the process
Picture books are typically 24-page spreads, so my job as the author was looking for the natural page breaks and finding a rhythm for how the story flows from page to page.
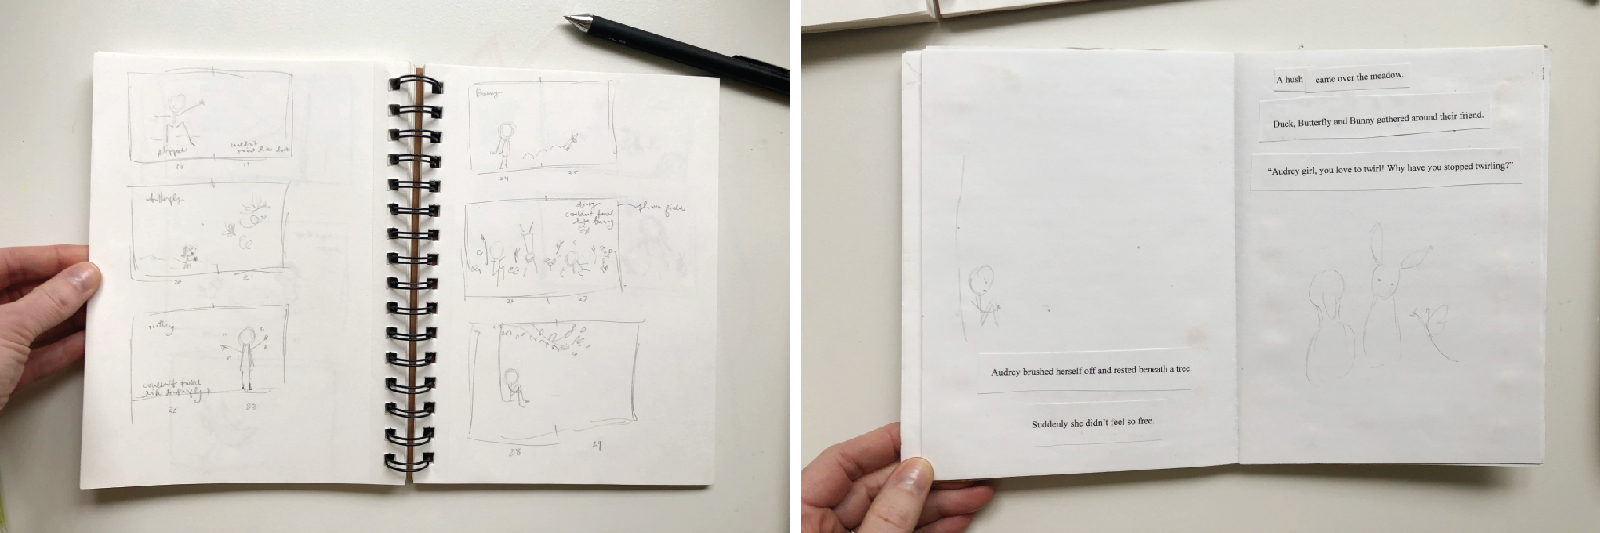
My job as the illustrator came next. What picture would best compliment the words? How might the spreads work together? Where should full-page art be and where are spot illustrations? How could the story be best told through art? This is the part that made me extra thankful to be the illustrator of my own book. As I wrote the story of Twirl, I had a general idea in my imagination of what each scene looked like. It wasn’t super clear so I’m so glad I didn’t have to try to convey this to another illustrator! Even though I was nervous about my ability to translate the pictures in my mind to paper, I gave it a try. I roughly sketched each page with the layout, characters, background, etc. It was very rough but helped so much (below, left). Then I made a little book dummy, adding the lines of the story to help layout each page (below, right). Again, so, so rough!
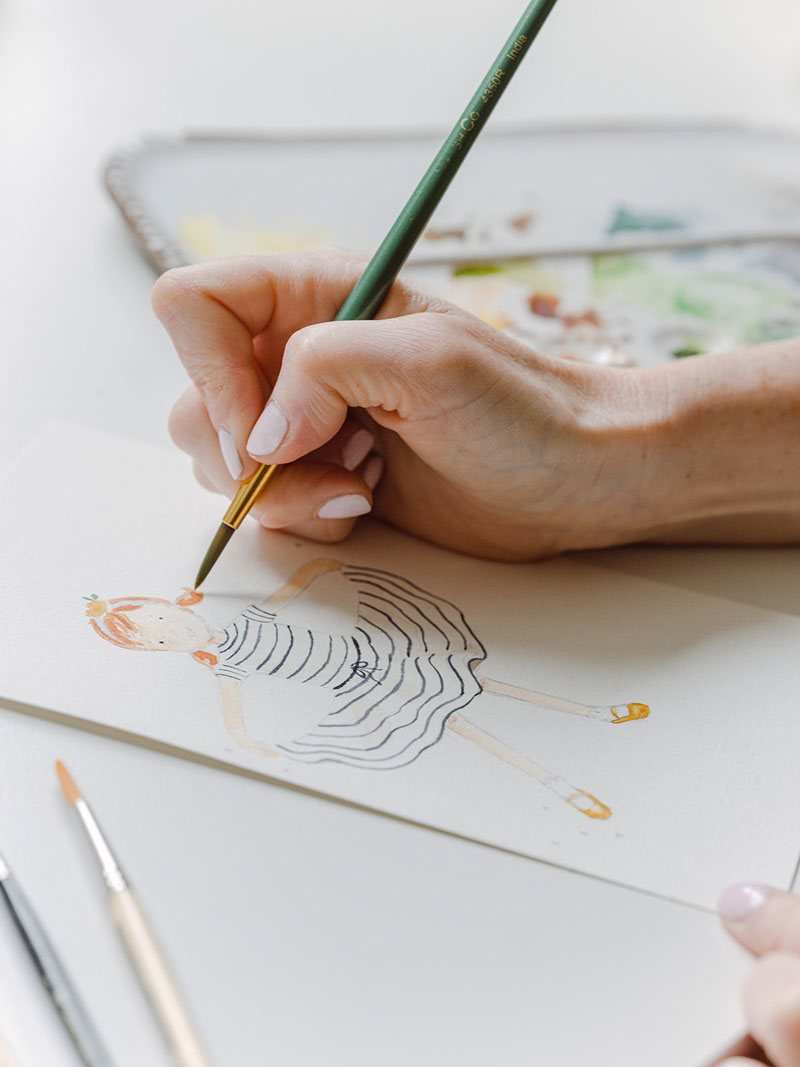
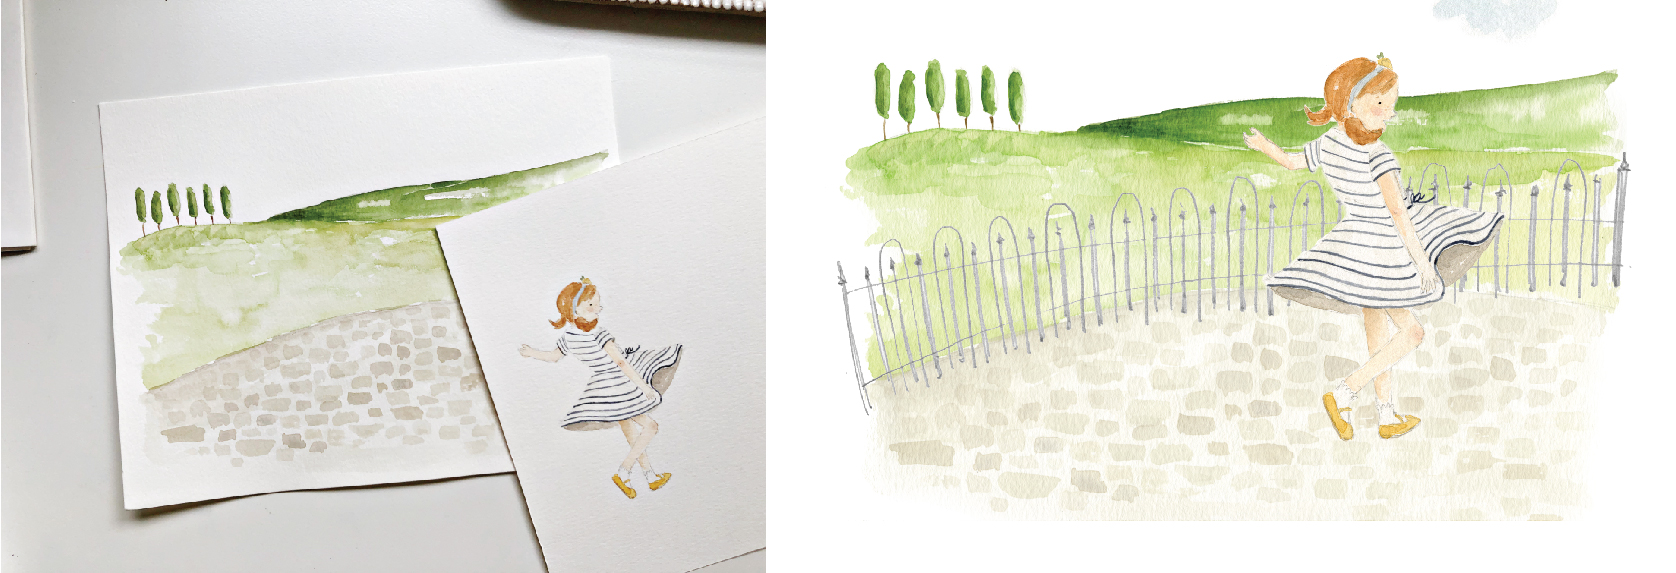
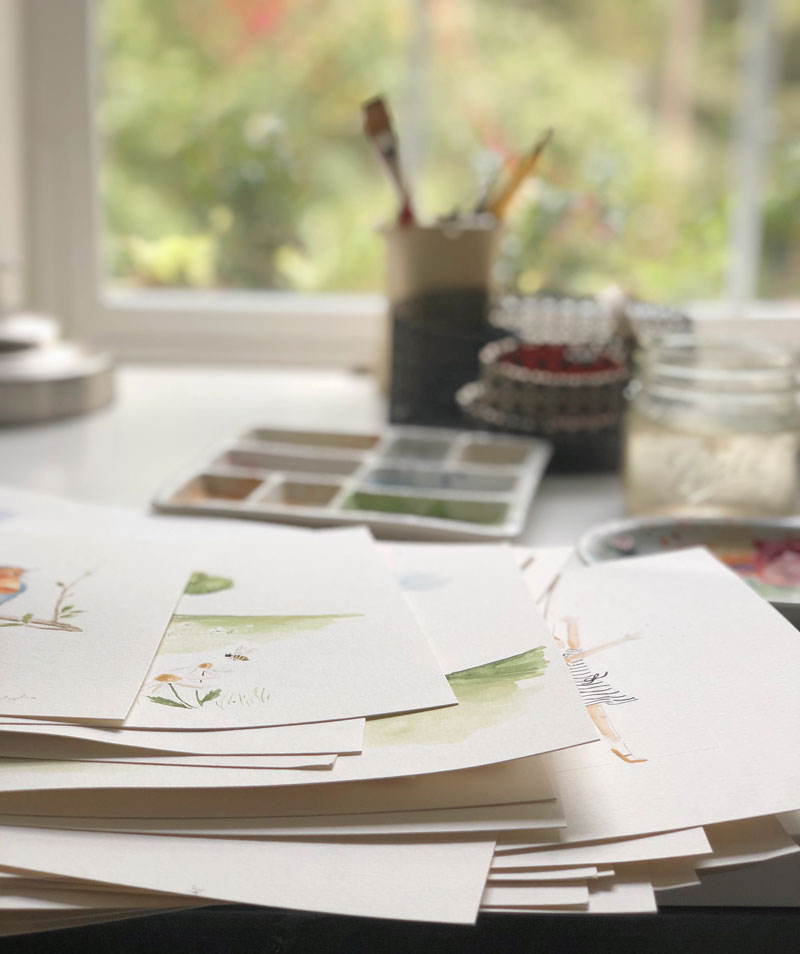
Once the sketching and story-boarding were figured out, it was time to create the actual artwork. I mostly moved chronologically through the story, saving the hardest and most intimidating pieces for last. For about six weeks, I sat at my watercolor desk working on artwork. Each day, I didn’t know if I could get what was in my head out on paper … and each day I surprised myself with what was created. Truly, every single illustration shocked me. I didn’t know I could do that! It felt like a happy partnership between me and the Holy Spirit and I love that I can’t look at any of the illustrations in the book without recognizing that it was not by my own creativity or expertise or talent.
Many illustrators sketch their artwork and refine it until it is just right before transferring it to the paper for final artwork. I did a little bit of transferring (tracing paper works great!), but mainly prefer to sketch directly on the final paper. I like the sketchy, imperfect pencil lines showing. If you’d like to see the sketching and painting process, I created a timelapse video for you!
finishing up
Once all of the watercolor artwork was complete, I scanned the images, pulled them into photoshop to make slight edits (removed the watercolor paper texture from the background, erased any extra marks, moved an eyebrow or flower slightly if needed), and saved the digital piece. This allowed me to do the characters and scenery separately and layer/move/adjust as needed for the final artwork.
I found it really helpful to create page layouts in Illustrator with the finished artwork and text. It allowed me to see how each page would flow and create a layout that I liked. And, it was fun to print it out because sometimes a paper copy is just nice. I’m not sure if this is a normal step for illustrators, but, hey, I’m new at this!
After all of the pages were complete, I sent the individual artwork files and my layout samples to the publisher for the designer to format. I wasn’t sure if they would stick with my page layout, but they mostly did!
all the extras
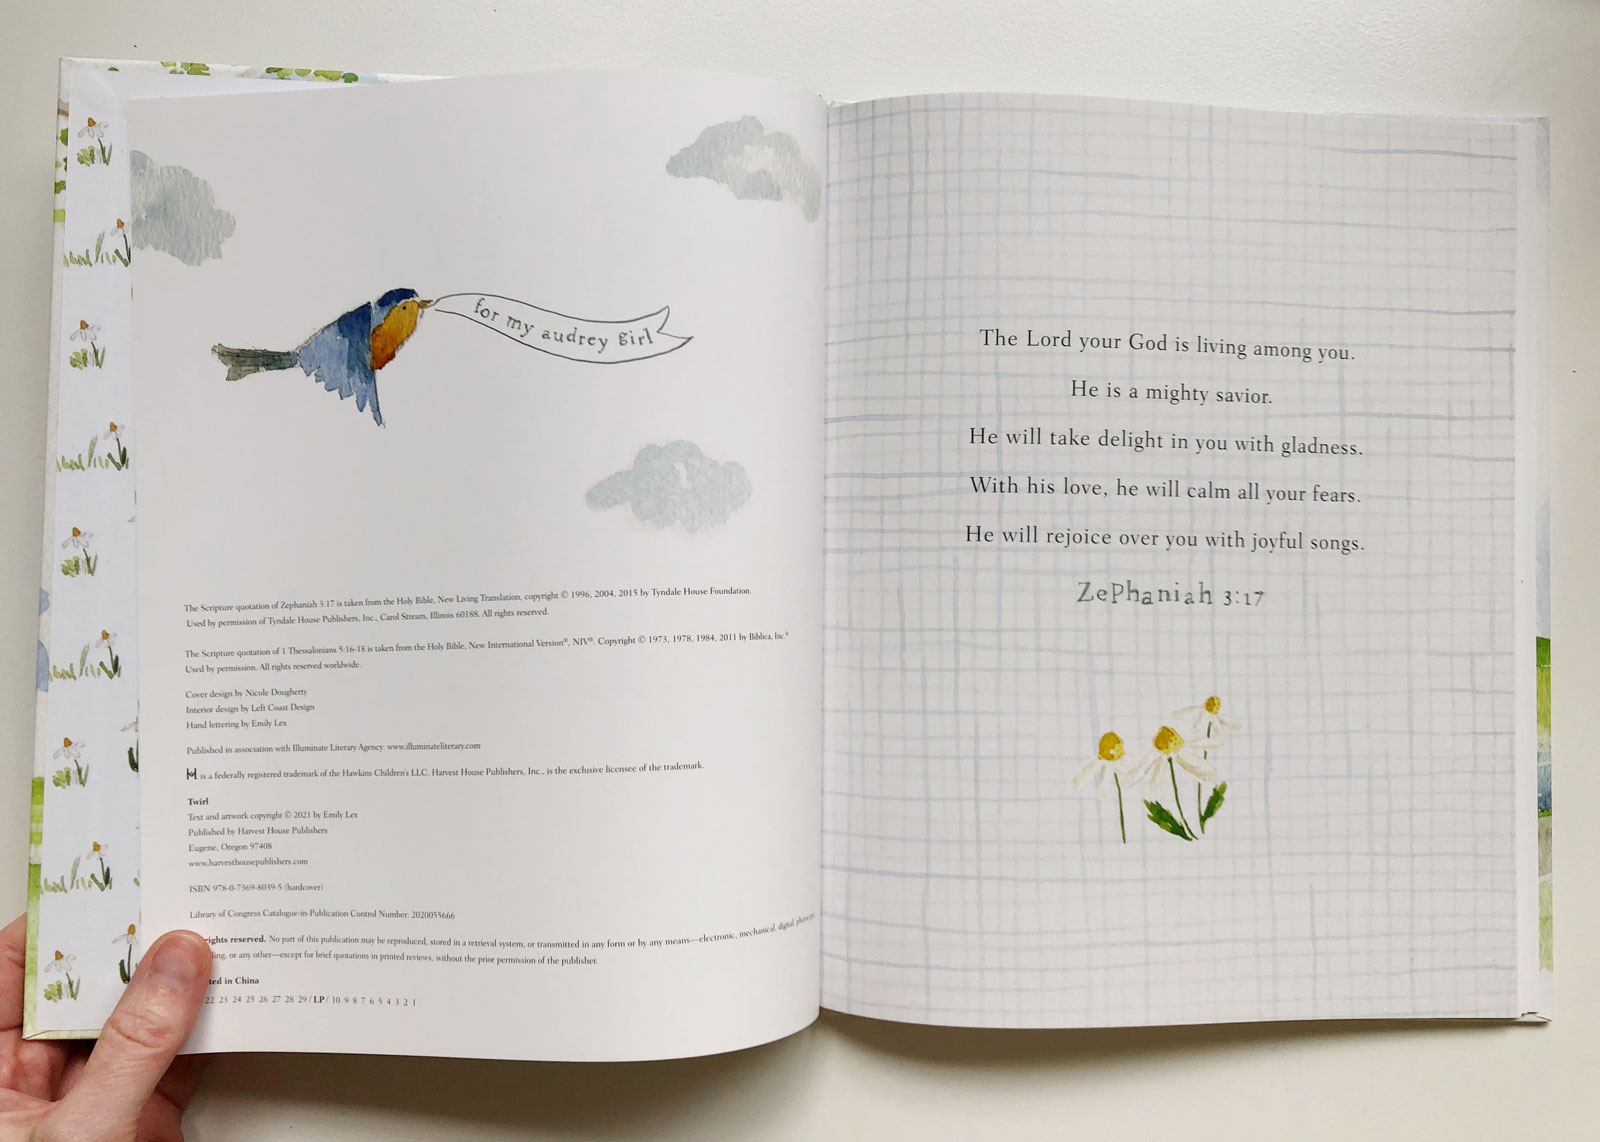
You know how much I love paying attention to little details and this book is no different. You’ll find cute end sheets (I love cute end sheets!), a sweet bible verse, dedication, and an about the author page. My publishing team was so creative with the suggestion for the about the author page and I hope it brings one last smile before you close the book. These special pages were so fun to create!

Oddly enough, the cover came toward the end of the design process. I offered a handful of cover ideas and together we picked a favorite. Up until the very last day before sending the book to printing I was making tiny adjustments to the cover (my publisher was so kind to let me be so meticulous!). You can read more about the cover here.
One thing you may notice is that I was able to incorporate some hand lettering into the pages of Twirl. We went round and round searching for the perfect secondary font and I’m so happy we landed on me putting some handwriting into the book. Having some words in my handwriting (a stylized version, at least) makes this book feel even more playful, more personal, and so complimentary with the style of Freely and Lightly.
Writing and illustrating Twirl was a dream come true for me and such an incredible learning and growing experience. I hope this was a fun peek into the illustrating process. If you have any questions, please leave a comment and I’d love to answer!
Thank you for sharing! I had no idea…. Can’t wait to get my copy to share and read with my 2 granddaughters, Raelynn and Adalynn.
Sandy
Hi Emily,
I love everything about this book. I don’t have any young children in my life right now but I feel like I need this book for me. For the fun, kind, loving, and joyous magic of it.
May God bless all your endeavors and your family,
Judy
I’m so happy for you! This book writing process for both freely and lightly and twirl have been such an inspiration to witness! I’m a longtime follower of you and I just feel so proud that you accomplished this goal. You have been an inspiration to me when it comes to crafting, sewing, and now water coloring. Thank you for that! Sending virtual celebratory hugs and congrats your way!!! Keep it up!!!
Oh, thank you so much!
Just so, so lovely! 🙂
Cannot wait to send it to a little girl in my family!
I love all you have done. I can’t wait to hold it in my hands! You are a wonderful artist
Thank you so much, Claire!
I LOVE everything about this! I’ve also followed your blog for quite some time…. I took one of your illustrator classes a few years ago because I love your style so much. And, I love how you’ve pivoted your business over the years and are so focused on keeping the word close to all that you do. I cannot wait to get a copy of Twirl!
Blessings,
Shayda
Thank you so much, Shayda. Lots of pivoting 🙂
I’m such a fan of you and your beautiful work!
Bless you Emily. This was a fascinating narrative ..
Thank you so much!
It’s so amazing. I love seeing the process. Because of you I have been working on watercolor during Covid. Thank you!
That’s wonderful! I hope you are enjoying the painting!
Have you thought about making paper or flannel dolls that little girls could have fun with changing clothes and friends they play with. Even magnetic ones would be good. I can’t wait to receive the childrens book . I really enjoyed reading freely and lightly. It helped me a great deal and plan on turning it over to a friend to read. I love also getting paper walls from you every week.
I would LOVE to! I think it would be fun to create a whole collection of characters and making paper dolls!
Thank you from the bottom of my heart. Sharing this process has inspired me to keep going with my art. I thought if I couldn’t get it right the first time maybe I just didn’t have what it takes. What it DOES take, is practice, dedication, perseverance and eagerness. This is what you have taught me. Thank you Emily.
I doubt myself too. Even watching this video and realizing how many times I had to redraw certain parts makes me wonder if I’m really all that good at drawing. I heard another artist (whose work I admire greatly) say that she hangs finished pieces up above her desk so when she is painting and doubting herself, she can look up and remember that she actually does know how to do this. That was so reassuring to hear. So yes, let’s keep practicing and pushing through!